
Snap a receipt and never lose an expense again
Photograph any paper receipt and My Business reads the vendor, date, and total right on your device — no cloud, no typing. File it against the right customer and job, give it a category, and every material, fuel, and equipment cost is captured, searchable, and rolled into your numbers, ready for tax time.
Scan a receipt with your camera
Point your camera at a receipt and the built-in document scanner finds the edges, straightens the angle, and captures it for you. When the scan finishes, the New Receipt form opens with the photo already attached — so you’re reviewing details, not re-typing them.
- Open All Receipts (Menu → Job Records) — or the Receipts list inside a customer or job.
- Tap + in the top-right (it becomes a ••• menu once you have receipts).
- Choose Scan Receipt and position the receipt — edges are detected automatically.
- Optionally switch the Color, Grayscale, or Black & White filter and adjust the crop.
- Tap Keep / Save in the scanner — the New Receipt form opens with the scan attached.
- Automatic edge detection and perspective correction.
- Color, Grayscale, or Black & White filters.
- Manual crop adjustment, or cancel and re-shoot.
Scanning needs a camera. On a device without one, the app degrades gracefully to Add Manually so you can still log the expense.
It reads the vendor, date, and total for you
The moment a scan lands, My Business reads the receipt on-device with Apple’s Vision text recognition and pre-fills the vendor, date, and total. Nothing is sent to a server, and there’s no third-party OCR subscription behind it — the recognition happens right on your iPhone or iPad.
- Scan a receipt, or upload a photo of one.
- Wait a moment while a “Reading receipt…” overlay sits over the image.
- The Vendor, Date, and Total fields fill in from what was read.
- Glance over them and fix anything before you save.
- Vendor comes from the first text line that reads like a name.
- Date is detected across many formats automatically.
- Total is smart — it prefers an amount on a line that says “total,” ignores “subtotal,” and otherwise takes the largest amount on the receipt.
- Every recognized line of text is kept, so the receipt is searchable later.
- OCR only fills fields you haven’t already set — your own entries are never overwritten.
Type one in by hand, or pull from Photos
No camera handy, or working from a photo you already took? You can add a receipt manually in seconds, or attach an existing image from your library and let it get read the same way.
- Tap the + / ••• button at the top of any Receipts list.
- Choose Add Manually, then type the vendor, date, total, and category — and assign it if it belongs to a customer or job.
- Or, in the Receipt Photo section of the form, tap “Upload a photo of the receipt” and pick an image — it’s attached and read automatically.
- Manual fields: vendor, date, total (currency keypad), category, assignment, and notes.
- Upload from your photo library — the picker is limited to images.
- Replace or remove the photo on any receipt later.
Each receipt keeps one image — and a multi-page scan is stitched top-to-bottom into a single tall image, so no page is dropped.
File it against the right customer and job
Every expense can be tied to a specific customer and one of their jobs, or left as a general business cost — so when you look back at a job, the materials, fuel, and equipment that went into it are right there.
- Open or edit a receipt.
- In the Assignment section, set Assigned to — Business (the default) or a specific customer.
- If you chose a customer, pick one of their jobs in the Job picker.
- Save.
- Assign to Business for a general overhead expense.
- Assign to any customer, then optionally to one of their jobs.
- Capture straight from a job — open a job, tap Add receipt in its Receipts card, and the scan pre-attaches to that job and its customer.
- Switch the customer and the job picker clears itself if the old job doesn’t belong to the new one.
Receipts are real financial records — they outlive the work. Delete a job and its receipts stay put, still visible under the customer.
Categorize, note, and find anything fast
Label each expense — Materials, Equipment, Fuel, whatever fits — add notes for the details you’ll want later, then search and filter to pull up exactly what you need with a live total as you go.
- On the receipt form, type a Category and any Notes.
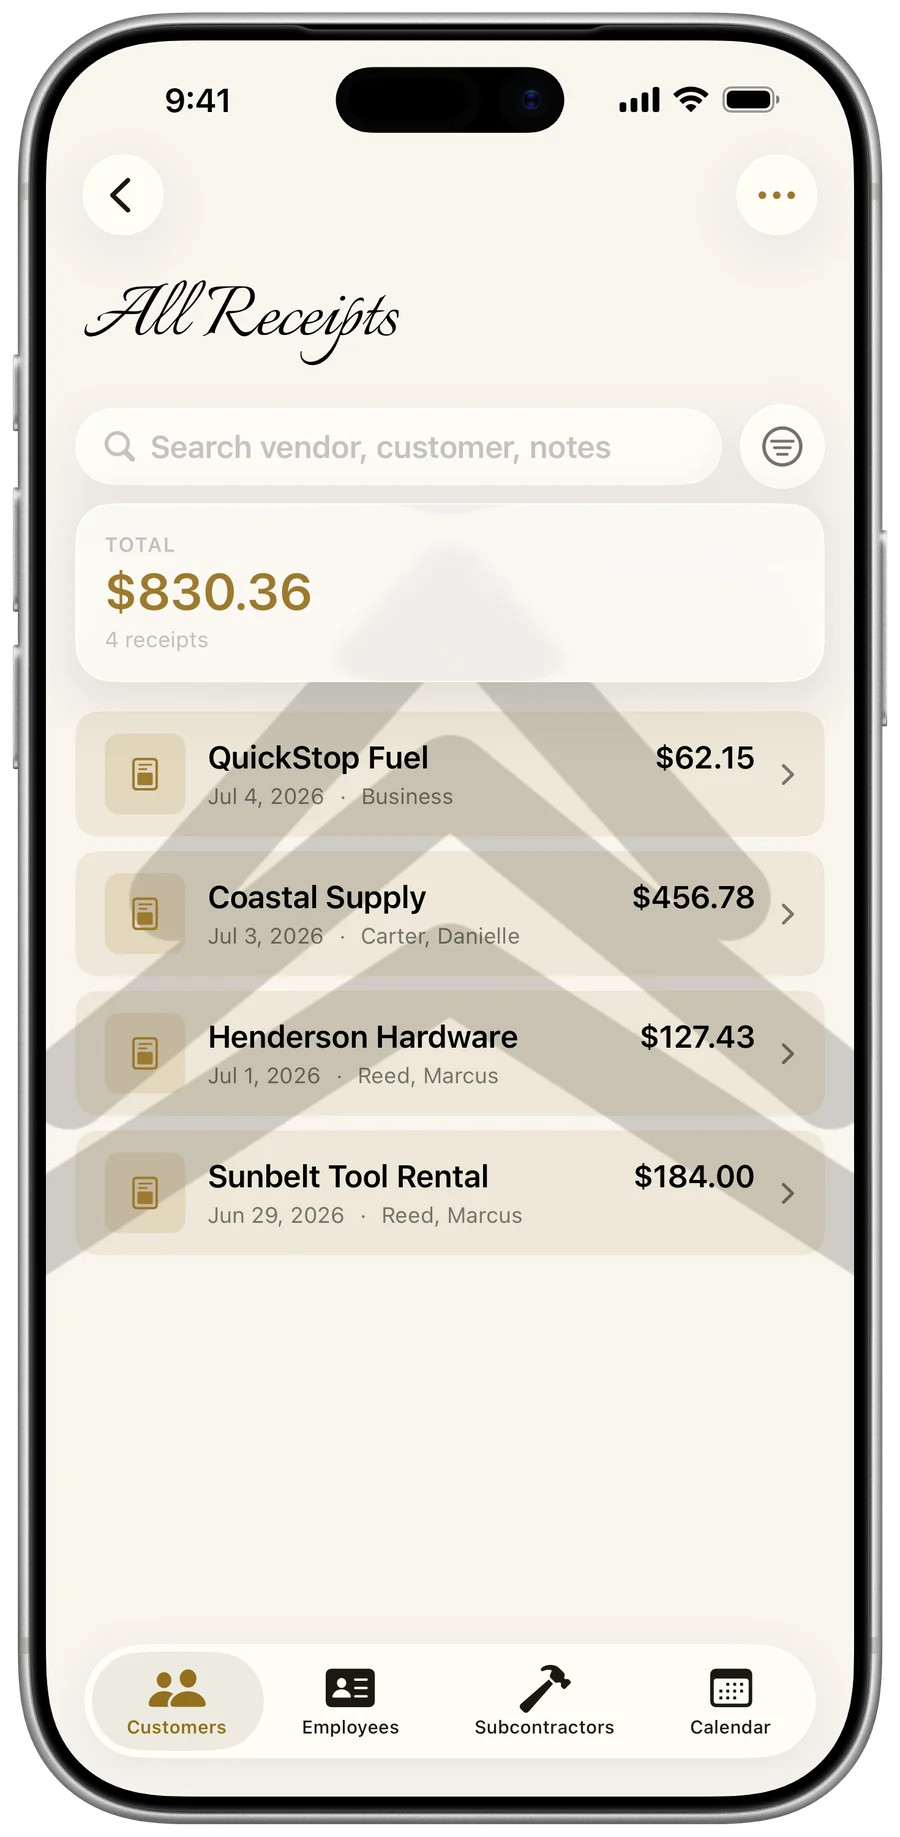
- In a Receipts list, type in the “Search vendor, customer, notes” field at the top.
- Tap the filter icon to narrow by All, Business, a specific Customer, or a Store (vendor).
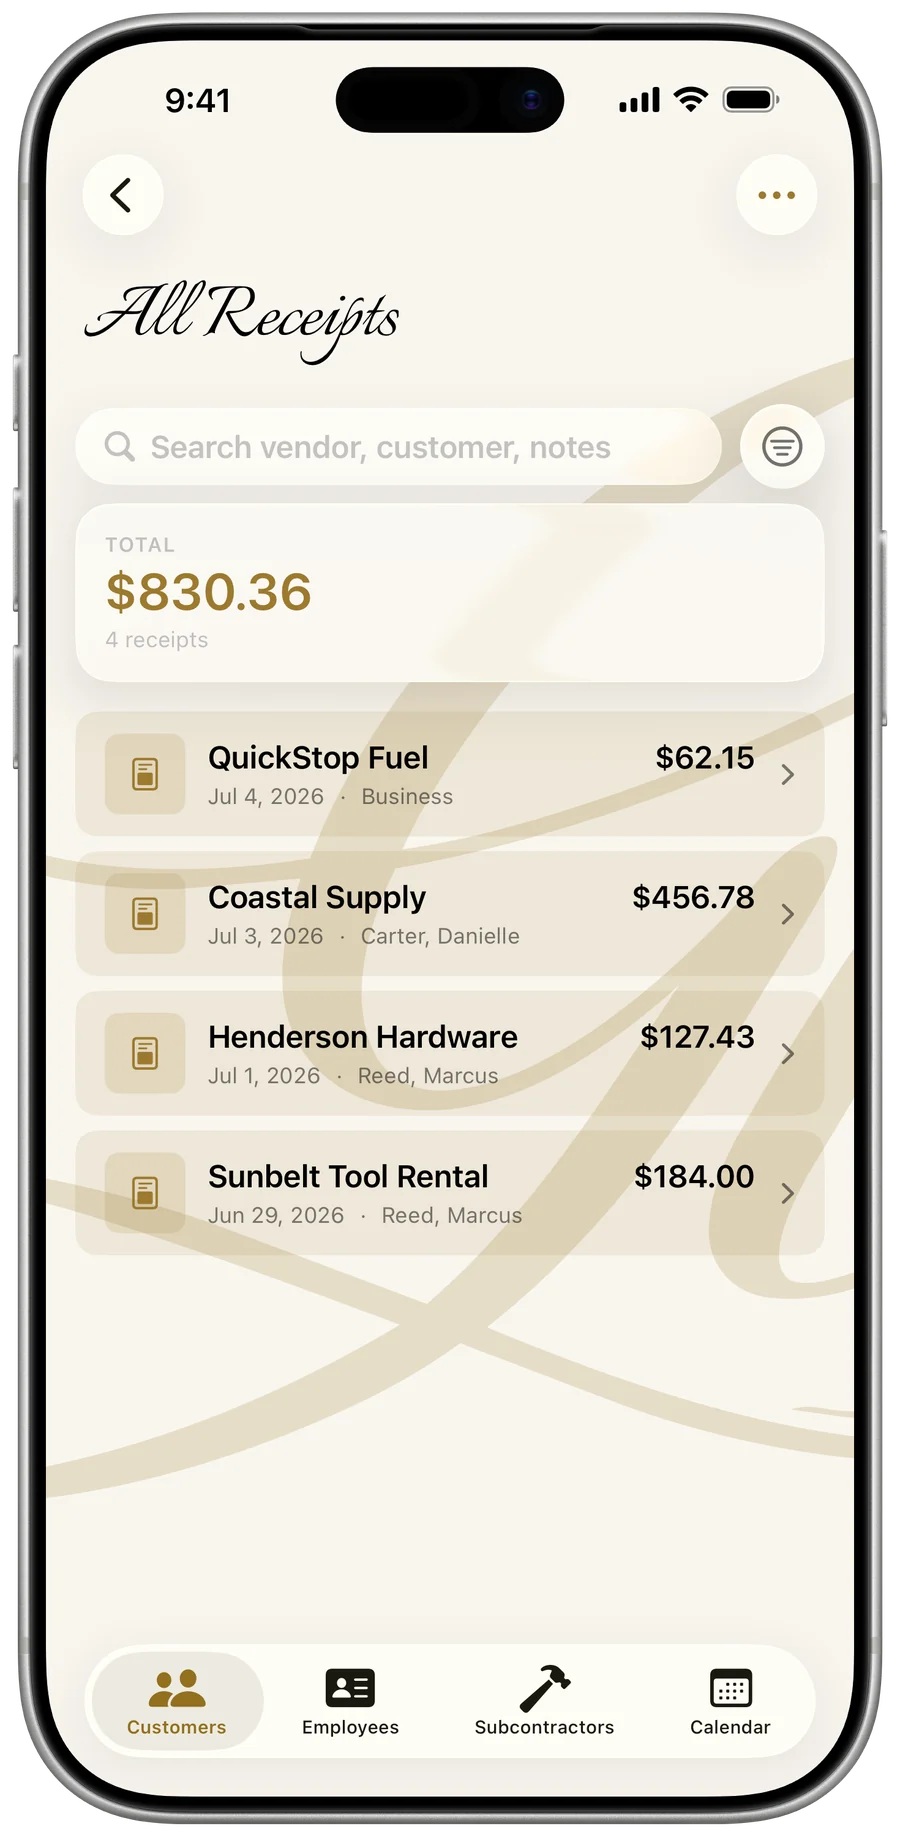
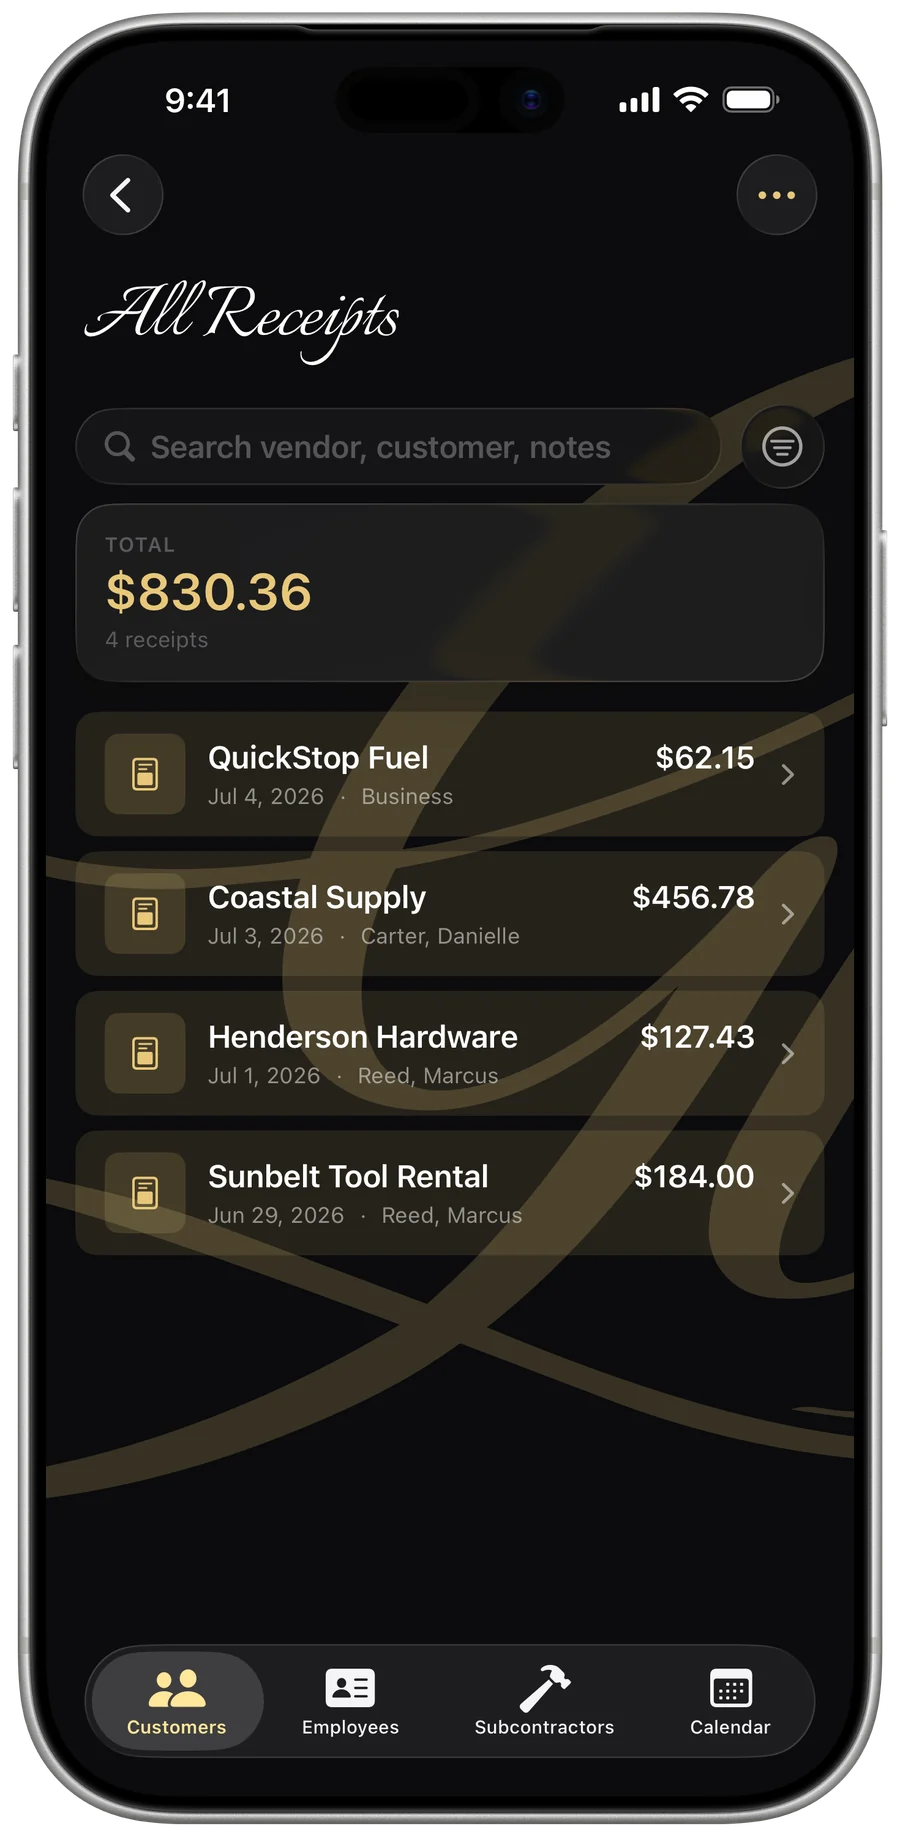
- Watch the TOTAL card recalculate to the sum and count of what’s currently shown.
- Category and notes are free text — call your buckets whatever you call them on the job.
- Search runs across vendor, category, notes, and customer name.
- Filter by All, Business, a customer, or a store.
- A pinned TOTAL card always shows the dollar sum and receipt count for the current view — not just the whole list.
- Open any receipt to see the full-size scan, its details, notes, and the raw recognized text under a “Scanned text” disclosure.
Categories are free text — there’s no preset list or multi-tag system. Leave one blank and it rolls up as “Uncategorized” in your stats.
Manage the whole pile
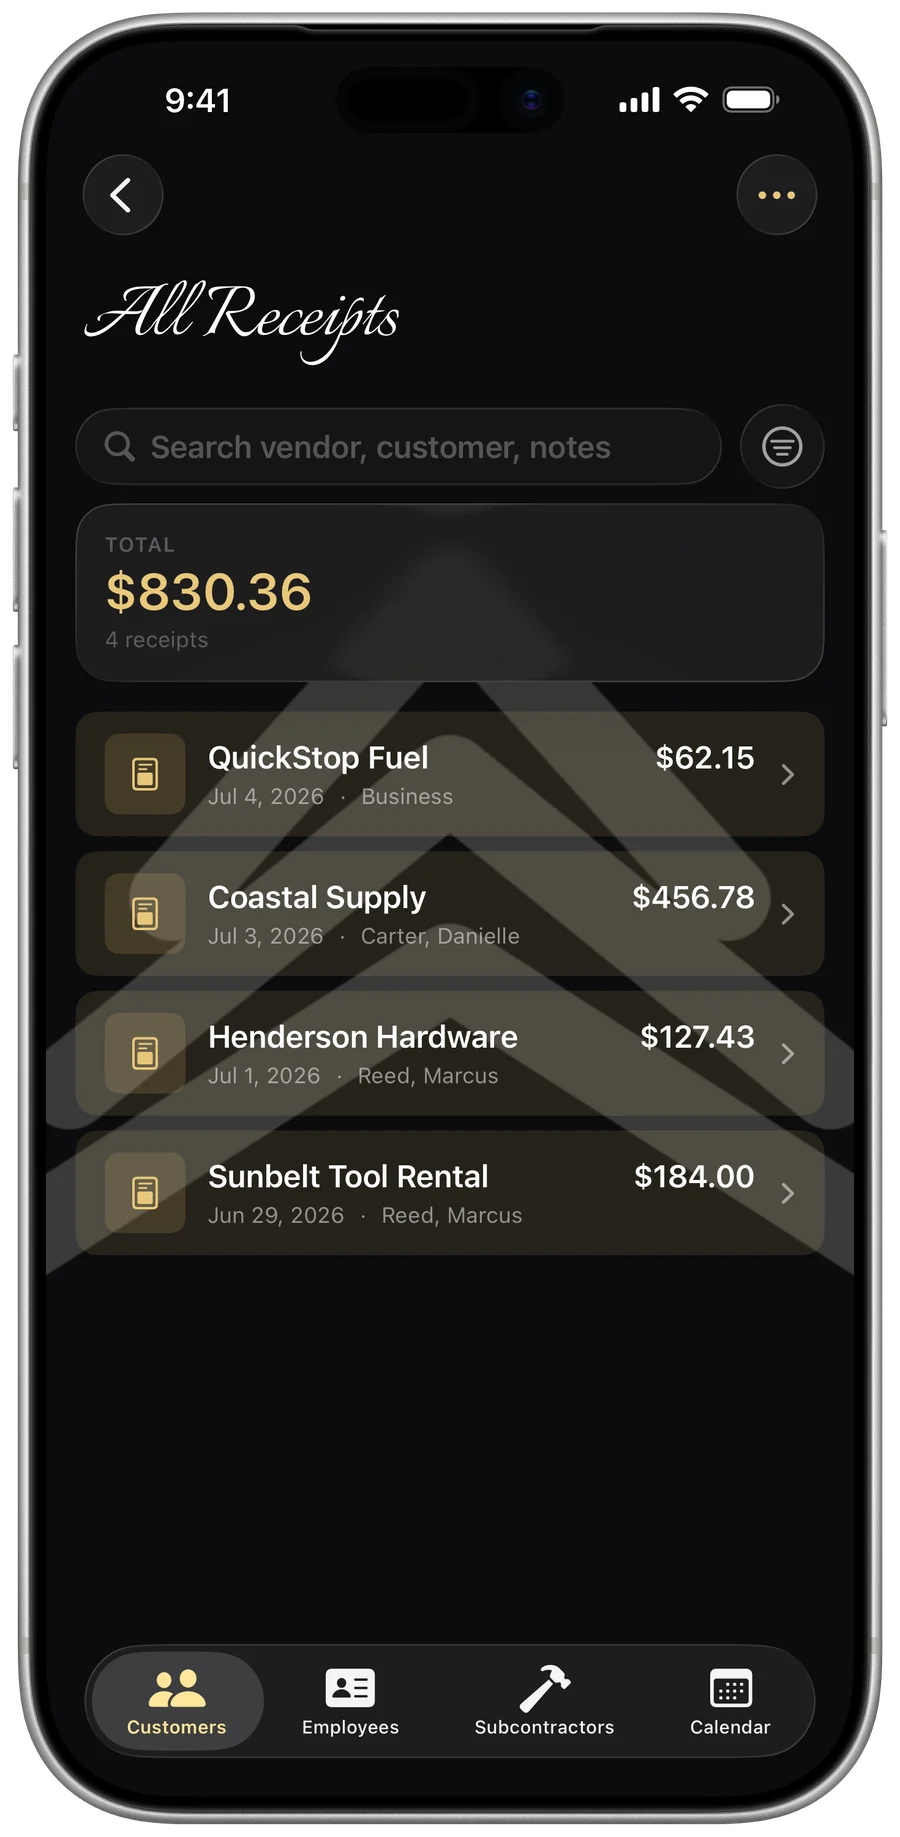
All Receipts is one reverse-chronological list of every expense across the business — thumbnail, vendor, total, date, and who it’s filed under. Capture and review live in the same place, on iPhone or iPad.
- iPhone pushes from the list to the receipt; iPad shows a side-by-side master-detail view with the first receipt selected.
- Edit any field, photo, category, or assignment — with a warning if you try to leave with unsaved changes.
- Swipe a single row to delete, or use Select to check several and Delete (N) together.
- A confirmation guards every deletion — it can’t be undone.
- The same scan-and-add flow shows up in three places: All Receipts (Menu → Job Records), a customer’s receipts, and a job’s receipts.
Your expenses show up in Statistics automatically
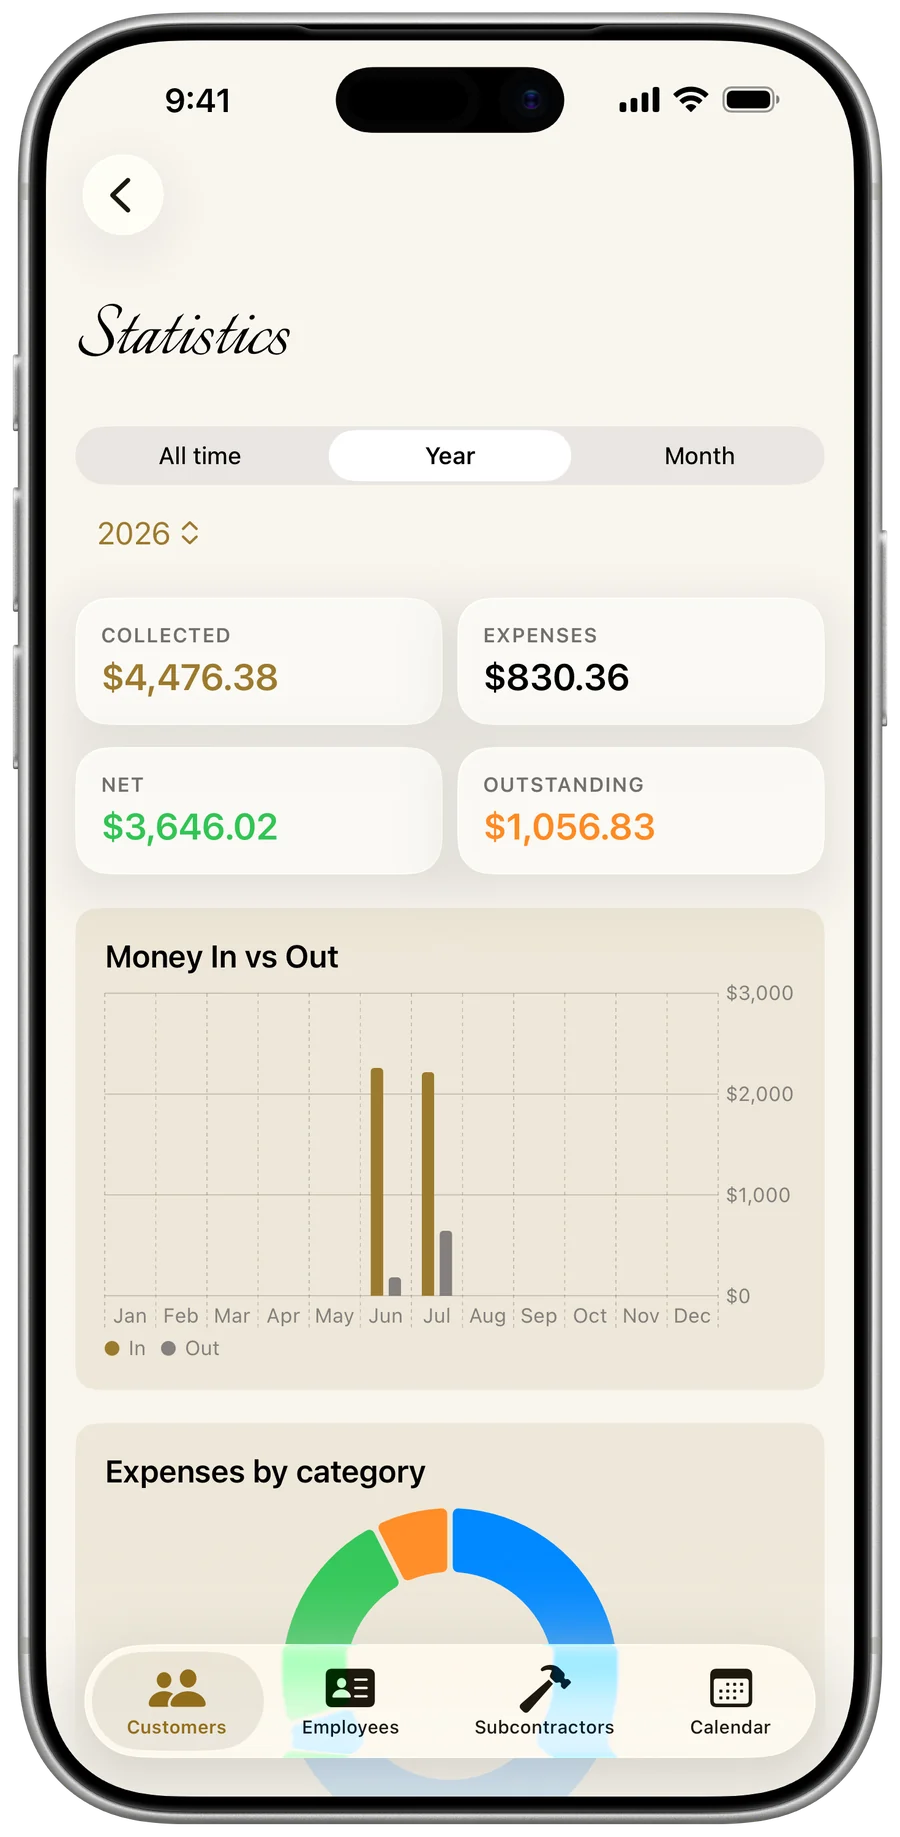
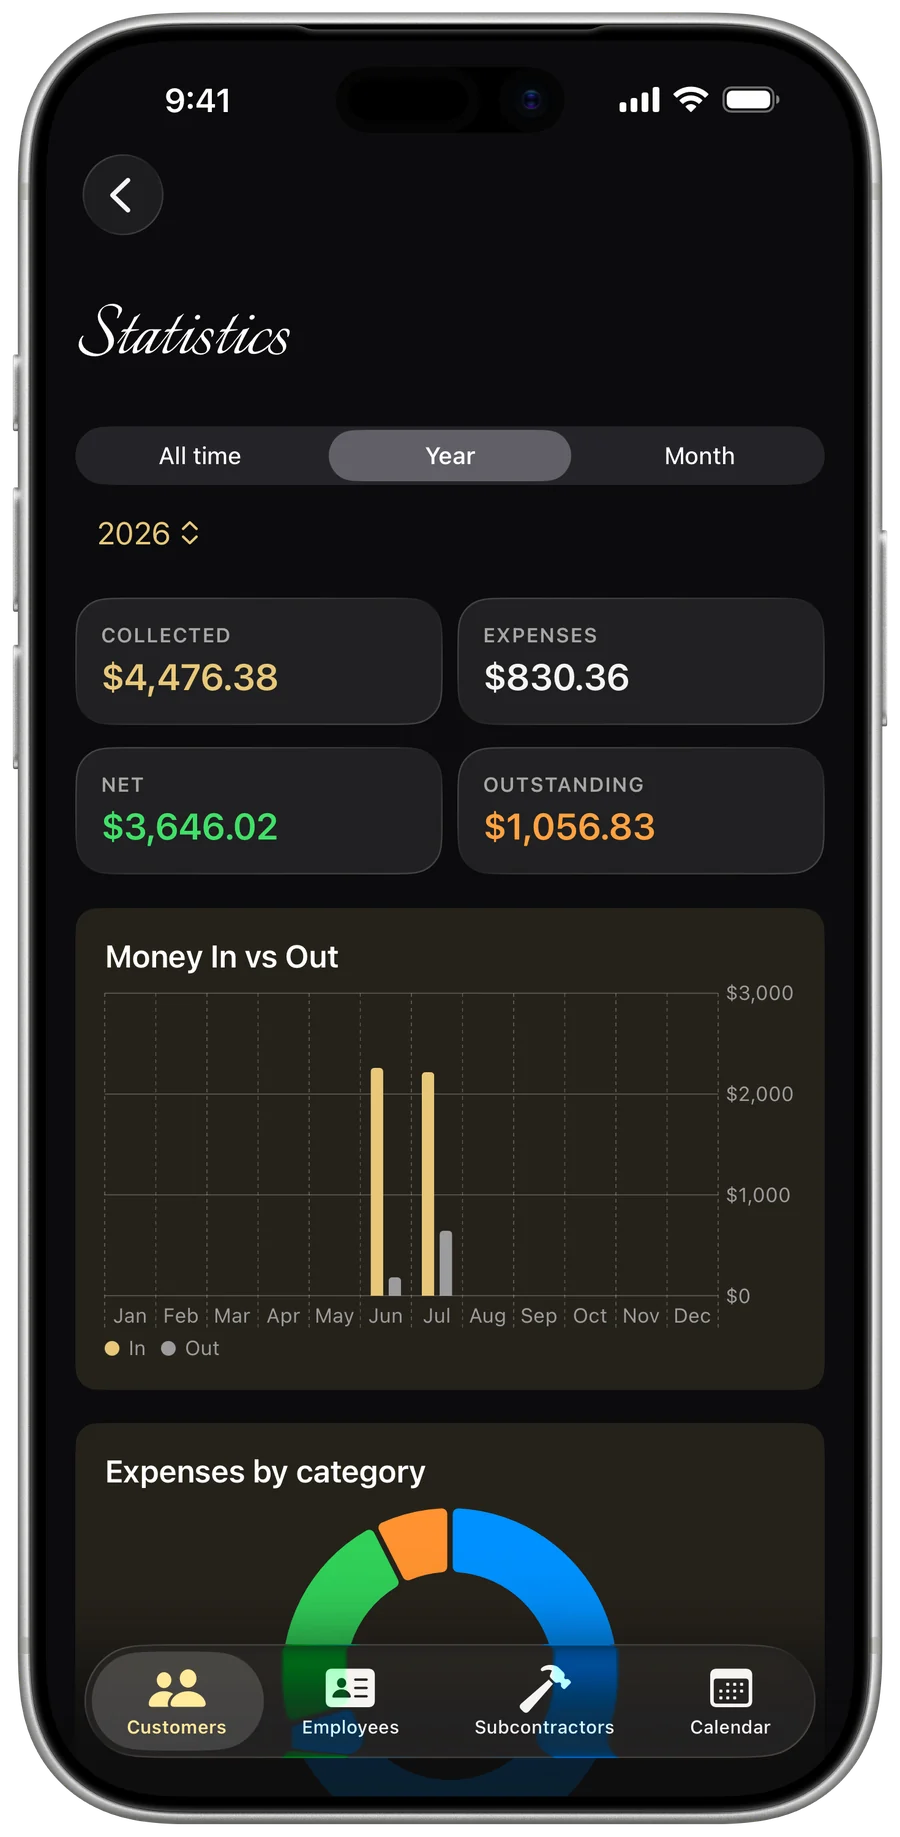
Every receipt you log feeds Statistics with zero extra bookkeeping. Pick a period and you’ll see total expenses, where the money went, and what you actually netted after costs.
- Open Statistics in the Business hub (Menu → Business → Reports) and pick a period — a month, a year, or all-time.
- Read the Expenses KPI — the sum of receipts dated in that period.
- Scan the “Expenses by category” chart to see where money went, largest first.
- Check Net profit, which already has these expenses taken out.
- Expenses by category, with blanks grouped as “Uncategorized.”
- Receipts flow into the money-in-vs-out breakdown.
- Net = collected − expenses − processing fees.
- Scans are quietly downsized and compressed so the app stays fast and syncs without bloat.
There’s no PDF, CSV, or share/email export from the receipts area itself. Your year-end expense CSV comes from Reports.