

Every customer, their whole history, and their paperwork in one place
Keep each customer’s contacts and full address together with everything you’ve ever done for them — their estimates, invoices, jobs, and receipts — plus the insurance paperwork a general contractor asks for. Add a customer in seconds from your phone’s Contacts, drop in an address with live Maps-style search, and keep their Certificate of Insurance on file. When a GC needs your compliance package, it’s a couple of taps from the same screen.
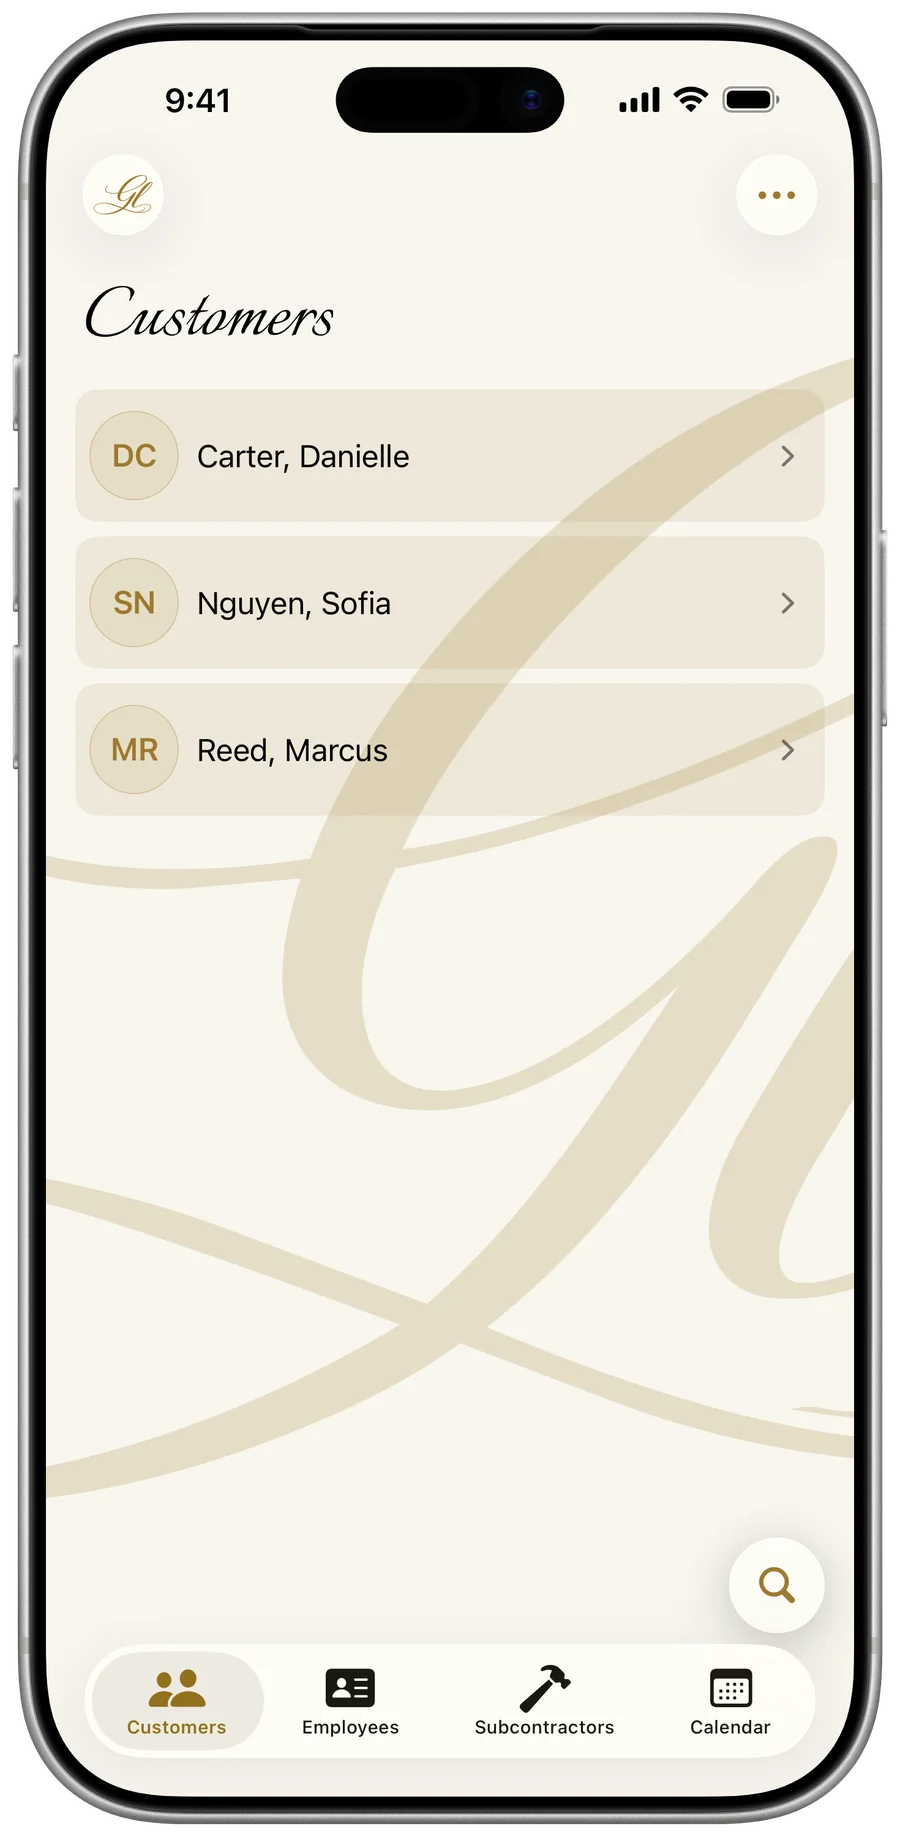
Add a customer — by hand or straight from Contacts
A customer record holds their name, business, contact numbers, and a full address. You only need one of First name, Last name, or Business name to save — fill in the rest as you get it. The fastest start is to pull a person straight out of your phone’s address book.
- Open the Customers tab and tap + (top right). On iPhone, once you have customers it lives under the ••• menu as “New Customer.”
- To pre-fill from your address book, tap “Import from Contacts” and pick a person — name, phone, email, and address come in automatically.
- Or just type the fields in: First / Middle / Last, Business, Email, Phone, Office, and the address.
- Tap Save.
- Importing maps the contact’s mobile number to Phone and a work number to Office, and pulls name, organization, email, and full address.
- Everything stays editable before you save, whether you typed it or imported it.
- Phone is the number that receives texts; Office is an informational landline only.
- Save turns on as soon as a first name, last name, or business name is present.
Importing from Contacts uses Apple’s own system picker, so it works without granting the app Contacts permission — your address book is never read in the background.
Drop in an address with live search
No more typing out a street, city, state, and ZIP one field at a time. Start typing in the Address section and pick from Maps-style suggestions that update as you go.
- In the customer form’s Address section, tap “Search for an address.”
- Start typing a street address.
- Tap a suggestion from the live list — Street, City, State, and ZIP fill in for you.
- Adjust any field by hand if you need to (e.g. an apt or suite).
- Live MapKit suggestions, refreshed as you type.
- No location permission required — it’s a text query only.
- A clear (x) button resets the search.
- Every address field stays editable after you pick a suggestion.
Keep a record clean and current
Edit any detail later, give a customer a profile photo, and read a tidy summary of everything on file whenever you need it.
- Open the customer, tap ••• → Edit (or open “More Info” and tap Edit there).
- Change any field — same fields as adding — and tap Save.
- To set a photo, tap the round avatar on the detail screen, pick an image, and crop it.
- Tap “More Info” anytime for a read-only Contact card and full Address card.
- A discard-changes guard warns you if you back out with unsaved edits.
- No photo? The record shows a clean monogram of the customer’s initials (or business initial).
- “Remove Photo” clears it; photos are saved compactly as JPEG.
- In More Info, empty fields simply show “—” instead of blank space.
- Long-press any phone number, email, or address — here or anywhere in the app — to copy it.
Find anyone fast
The list stays sorted by name, with a photo or initials avatar on every row. Search filters across the details that matter, so the right customer is one tap away even with a long roster.
- Open the Customers tab and scroll the list (sorted last name, then first).
- Tap the search field and type to filter.
- Tap a customer to open their record.
- Search matches first name, last name, business name, email, and phone.
- Rows show a “Last, First” name (falling back to the business name).
- iPhone uses a tap-through list; iPad shows a two-column split with the first customer already open.
- Friendly empty-state and “no results” views when there’s nothing to show.
Each customer is a mini-CRM
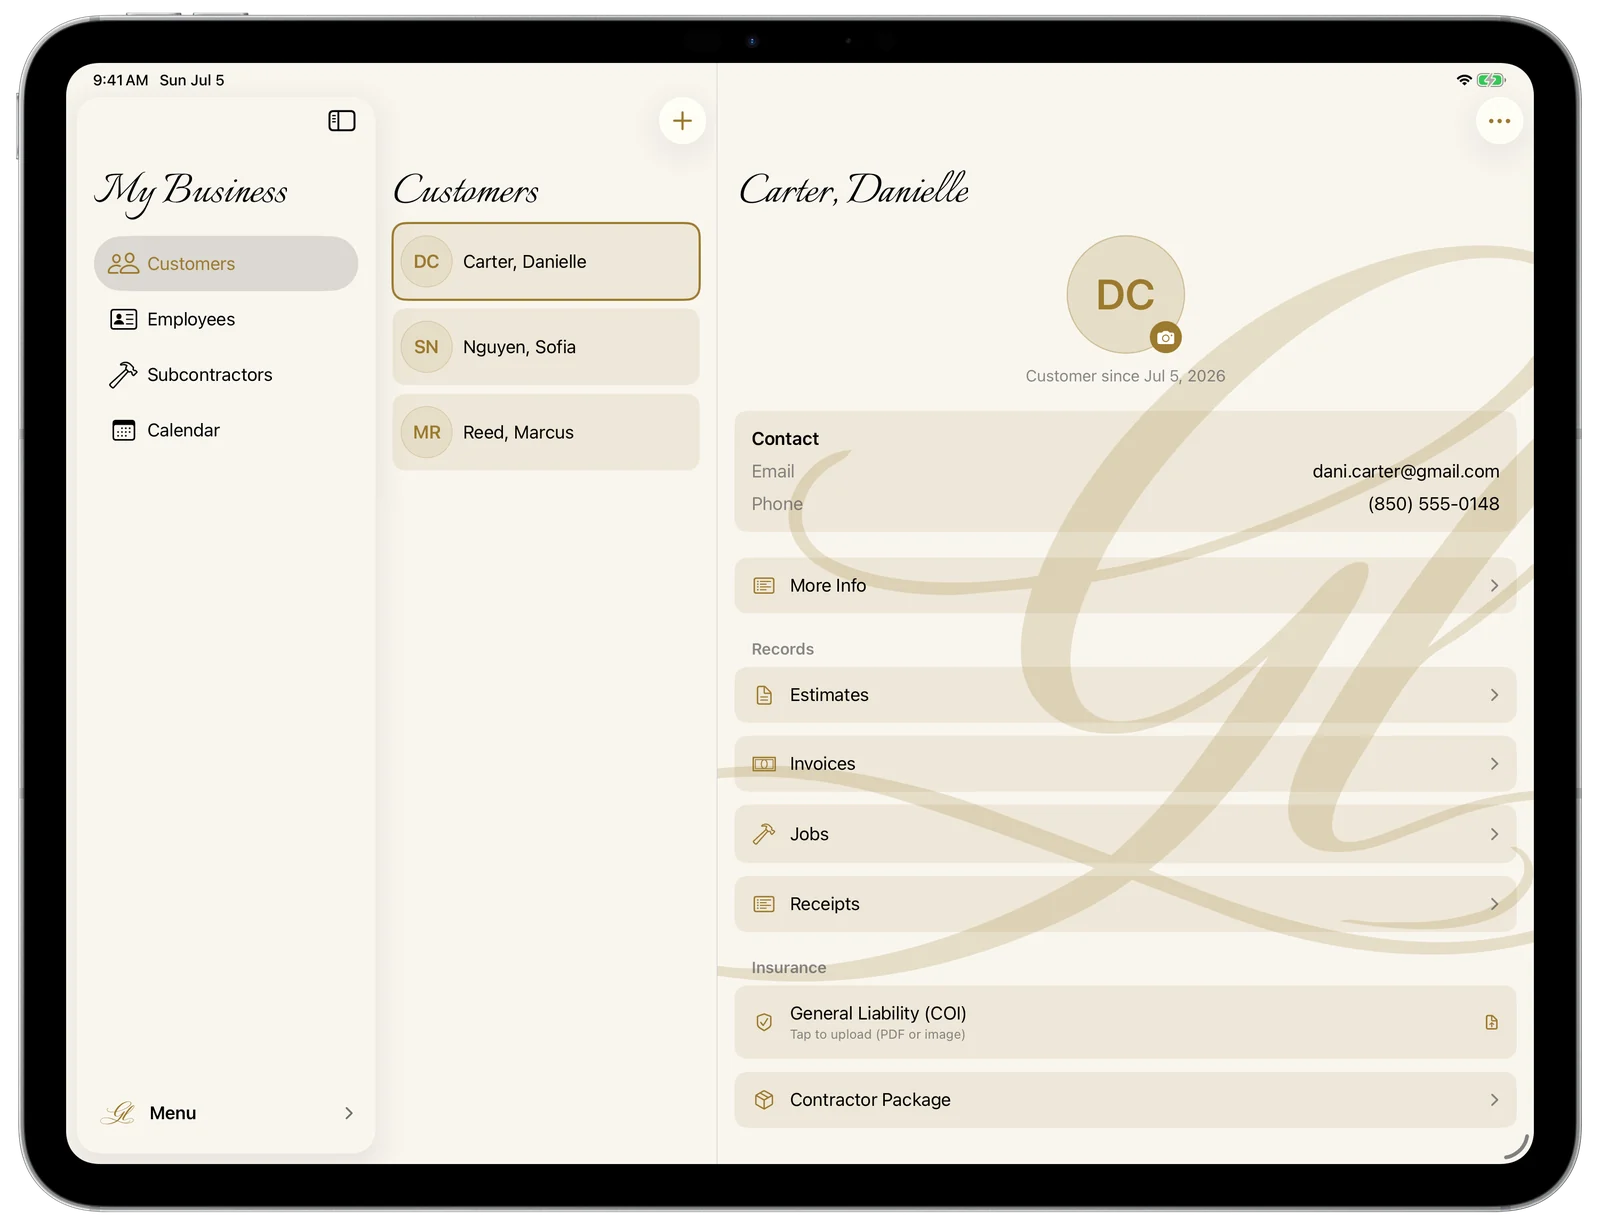
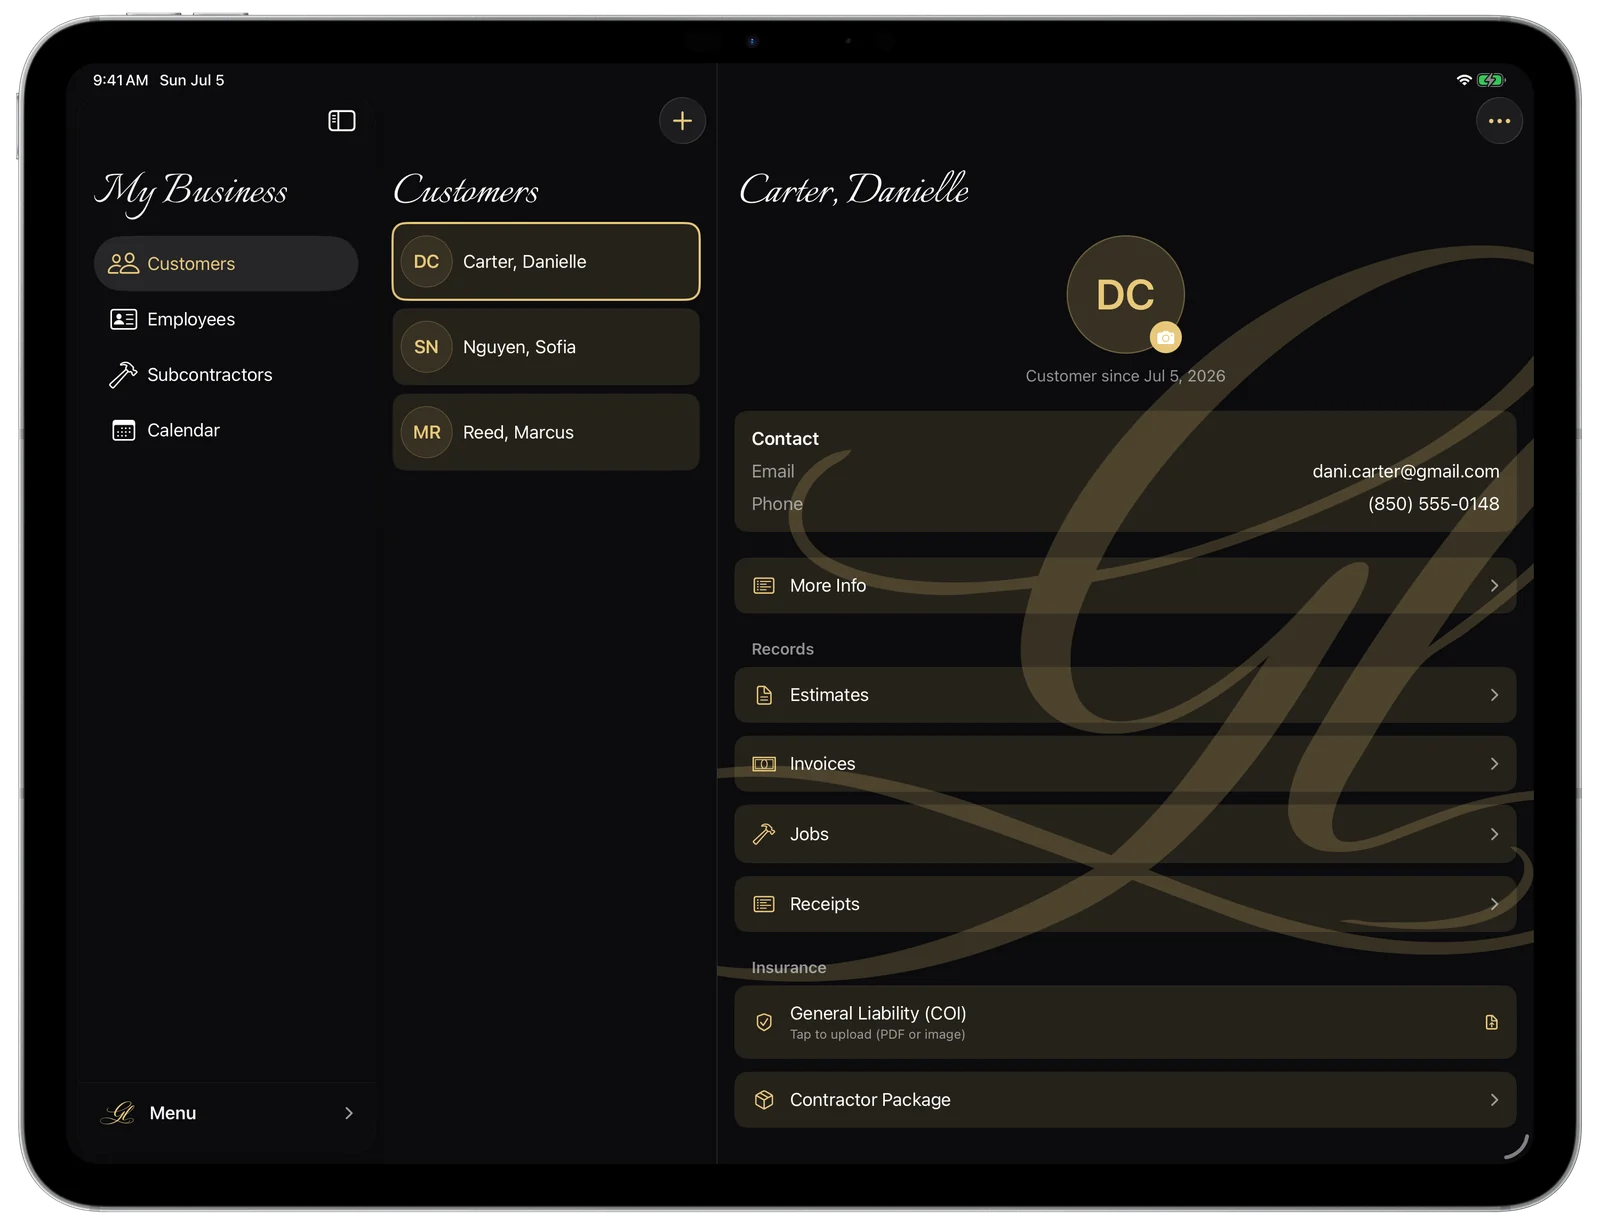
Open a customer and the Records section ties together everything you’ve done for them — their Estimates, Invoices, Jobs, and Receipts, all scoped to just that person. Create a new one from here and it’s already linked to them.
- Open the customer’s detail screen.
- Under “Records,” tap Estimates, Invoices, Jobs, or Receipts.
- Browse that customer’s documents, newest first.
- Tap + inside any list to create a new one already tied to this customer.
- Four record types in one place: Estimates, Invoices, Jobs, Receipts.
- Each list has its own search, multi-select, and swipe-to-delete.
- Creating from here pre-links the document — no re-picking the customer.
- You can also export a customer back to your iOS Contacts from the ••• menu, using Apple’s own new-contact card.
Keep their Certificate of Insurance on file
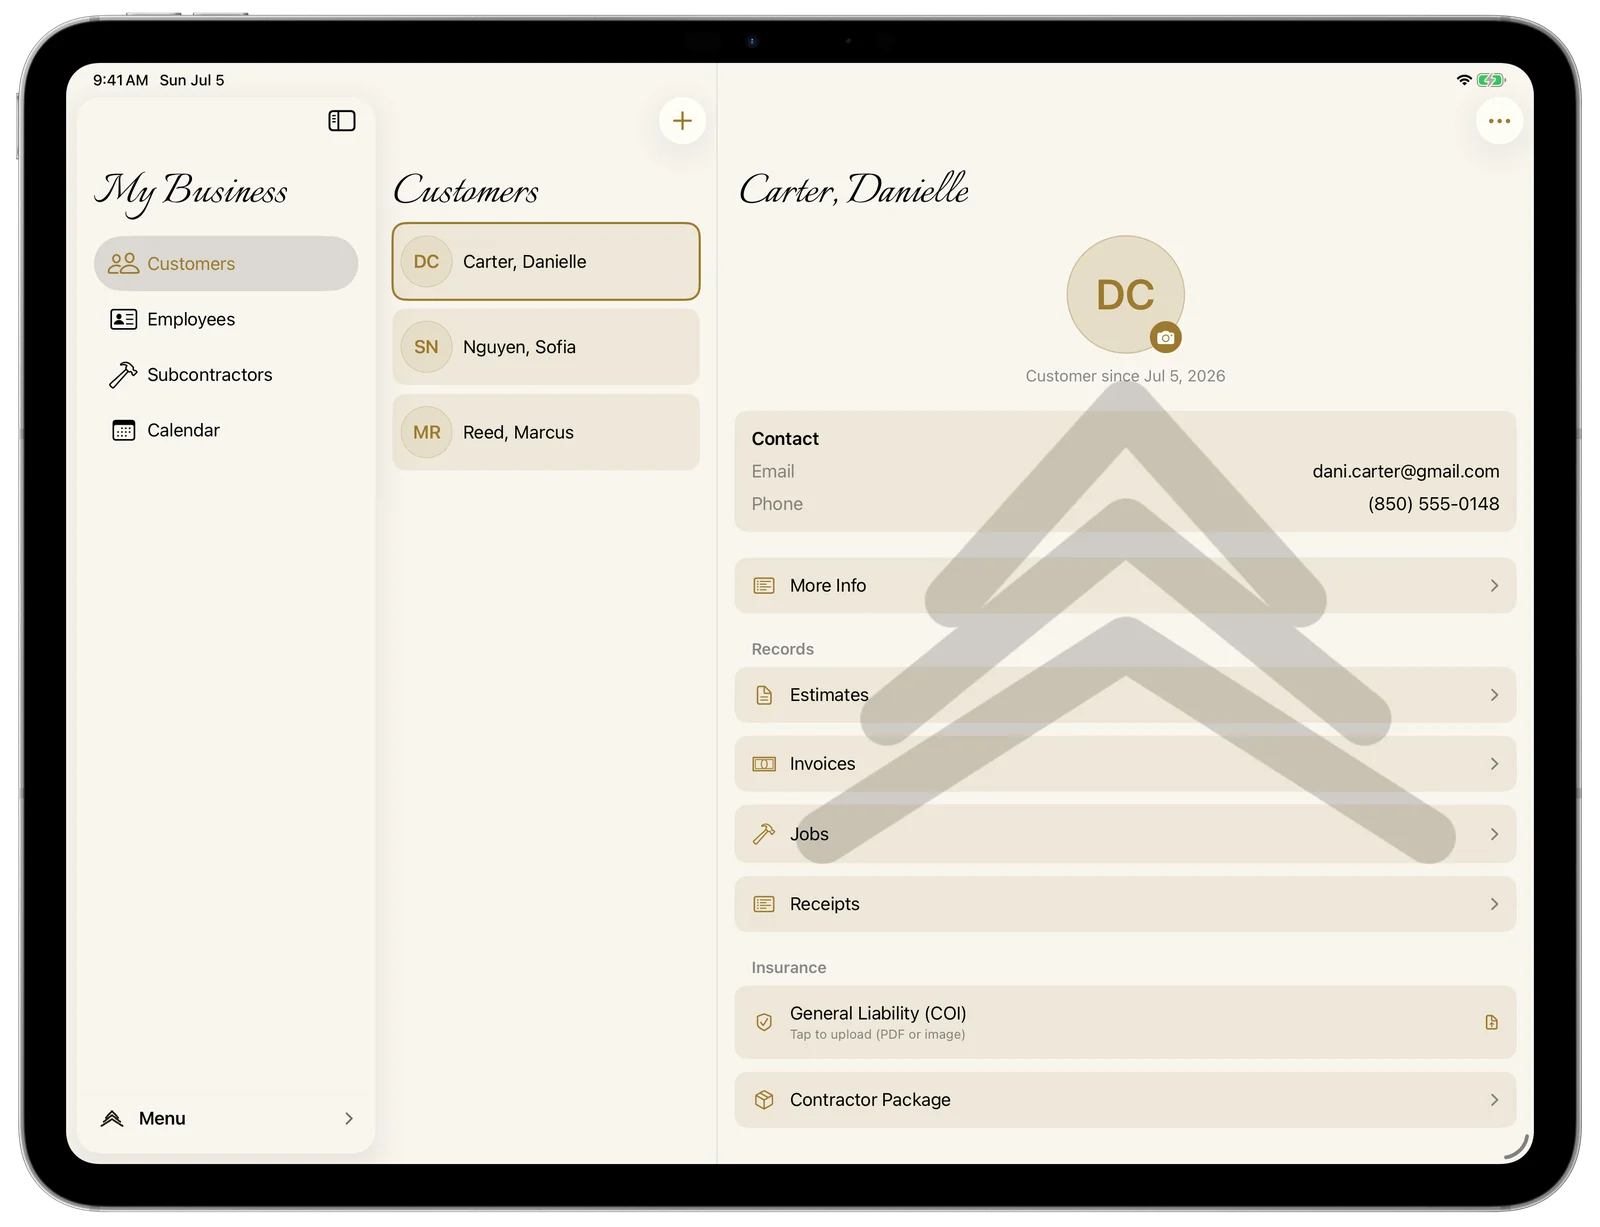
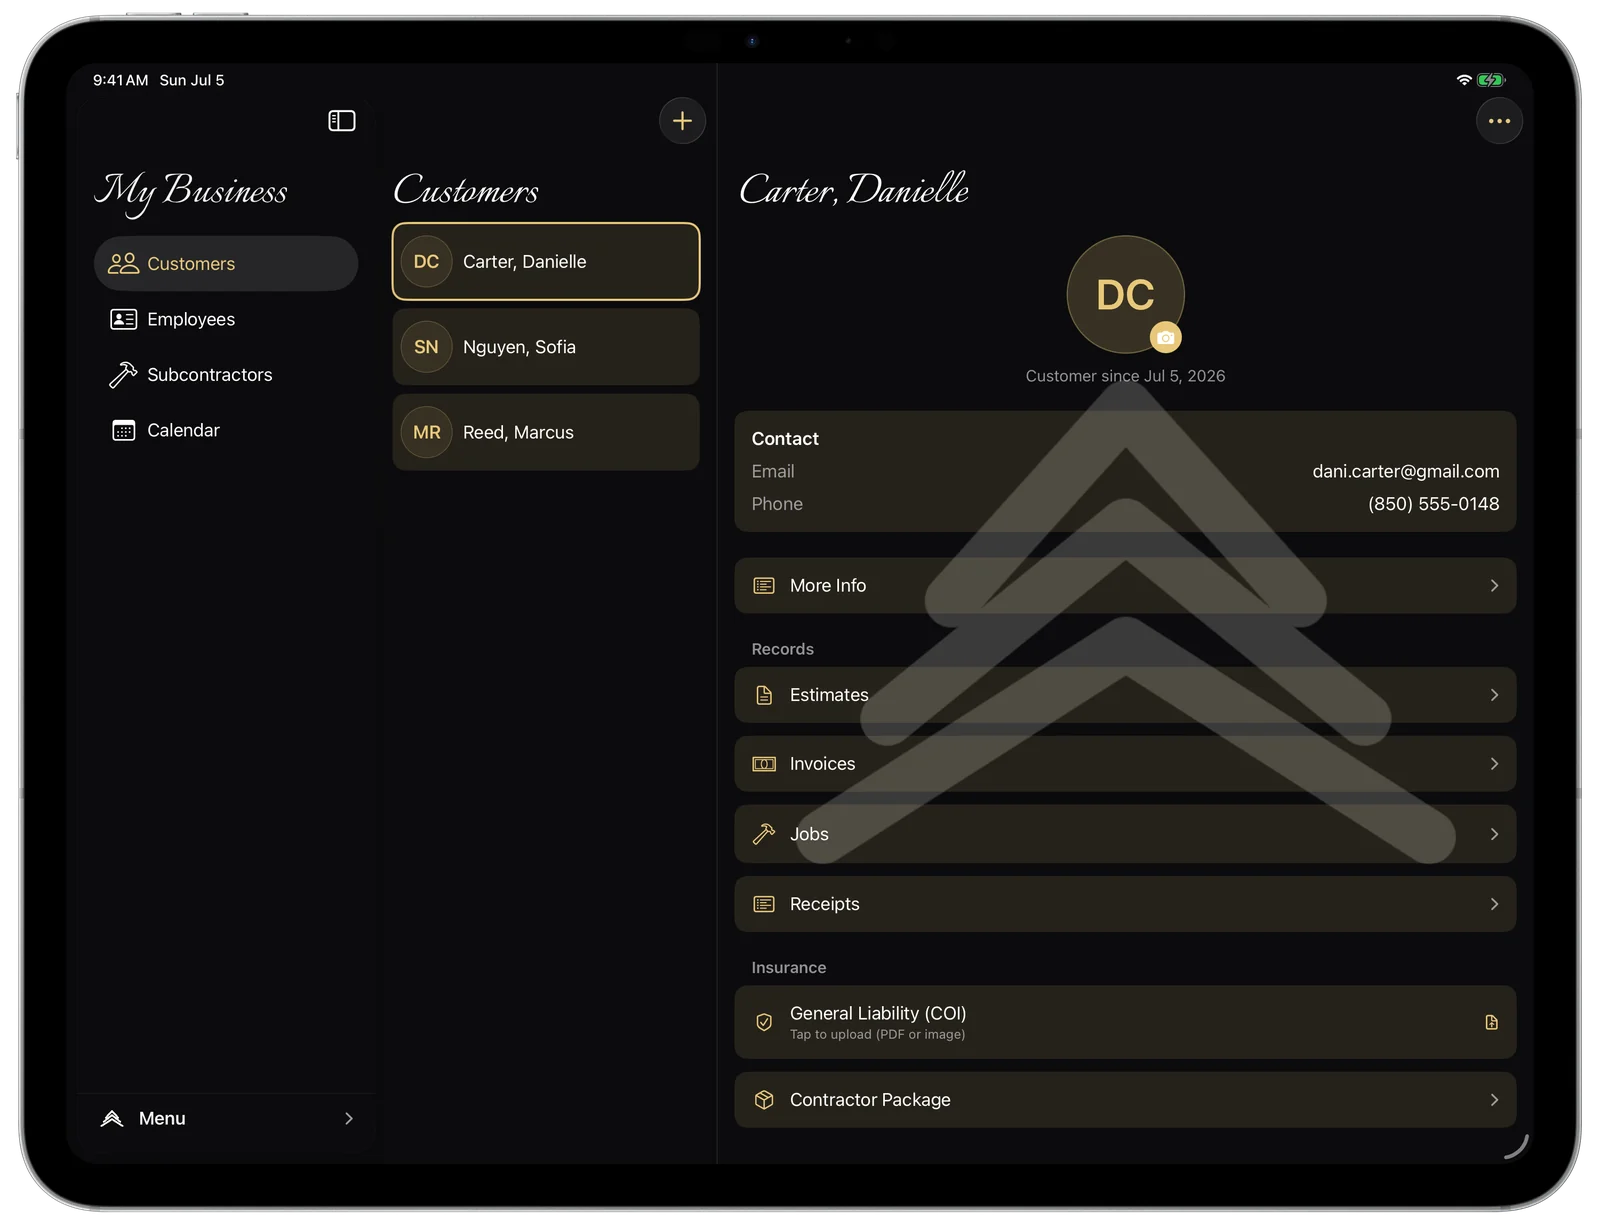
Store each customer’s own General Liability COI — PDF or image — right on their record. It’s there when you need to prove coverage, and it’s never mixed up with anyone else’s.
- Open the customer’s detail screen.
- Under “Insurance,” tap “General Liability (COI).”
- Choose a PDF or image file to upload.
- Tap the COI anytime to view it full-screen, or to Share, Replace, or Remove it.
- Accepts PDFs (including multi-page) or images, with a pinch-zoomable full-screen preview.
- Share via the system share sheet with a subject and message signed with your business name.
- A checkmark seal marks the COI as on file at a glance.
- Each customer’s COI is their own — it’s never reused across customers.
Insurance files are stored privately in your own iCloud account — not on our servers.
Send a general contractor’s whole package in a couple of taps
When a GC asks for your onboarding paperwork, you don’t assemble it by hand. From a customer’s Insurance section, the Contractor Package bundles their COI together with your W-9, workers’-comp, exemption, and license into a single PDF — with an optional, Face-ID-protected W-9 signature.
- Open the customer and, under “Insurance,” tap “Contractor Package.”
- If no COI is on file yet, tap “Upload COI” first.
- Toggle which of your documents to include, and sign the W-9 if you want.
- Preview the full package, then tap Share to send it as one PDF.
- Always includes the customer’s COI, exactly as uploaded — never altered.
- Optionally adds your W-9, Workers’ Comp Insurance, Workers’ Comp Exemption, and Contractor License.
- The output PDF is named per customer (e.g. Contractor-Package-Last-First.pdf).
- A business profile is required — the row stays disabled with “Add your business details first” until one exists.
The full how-to for what goes in the package and how it’s generated lives on the Documents & packages page.
Delete safely — without losing your money records
Remove a customer one at a time or several at once. Every delete is confirmed first, because it takes their documents with it — but the records you’d never want destroyed are deliberately kept.
- For one: swipe the row left and tap Delete.
- For several on iPhone: tap ••• → Select, check the customers, then tap Delete (n).
- Confirm in the dialog.
- Swipe-to-delete a single customer (in the iPad sidebar too).
- iPhone multi-select mode with a counted Delete button.
- Deleting removes that customer’s estimates, invoices, and receipts.
- Logged employee hours, subcontractor payments, scheduled jobs, and projects are kept — just un-tagged — so your payroll and cost history survive.
Deletes are confirmed every time and can’t be undone.
Free tier and upgrading
Add up to 10 customers free. Only creating new customers past that cap is gated — everything you already have stays fully usable.
- Free ceiling: 10 customers.
- Viewing, editing, exporting, and deleting existing customers is always free.
- Tapping + past the limit opens the upgrade paywall; a subscription lifts the cap.