

Win the job with an estimate that looks the part
Build a clean, itemized quote in minutes — group the work, price labor and materials, handle tax, discounts and deposits, then send a branded PDF by email or text. The moment it’s accepted, it becomes an invoice in one tap.
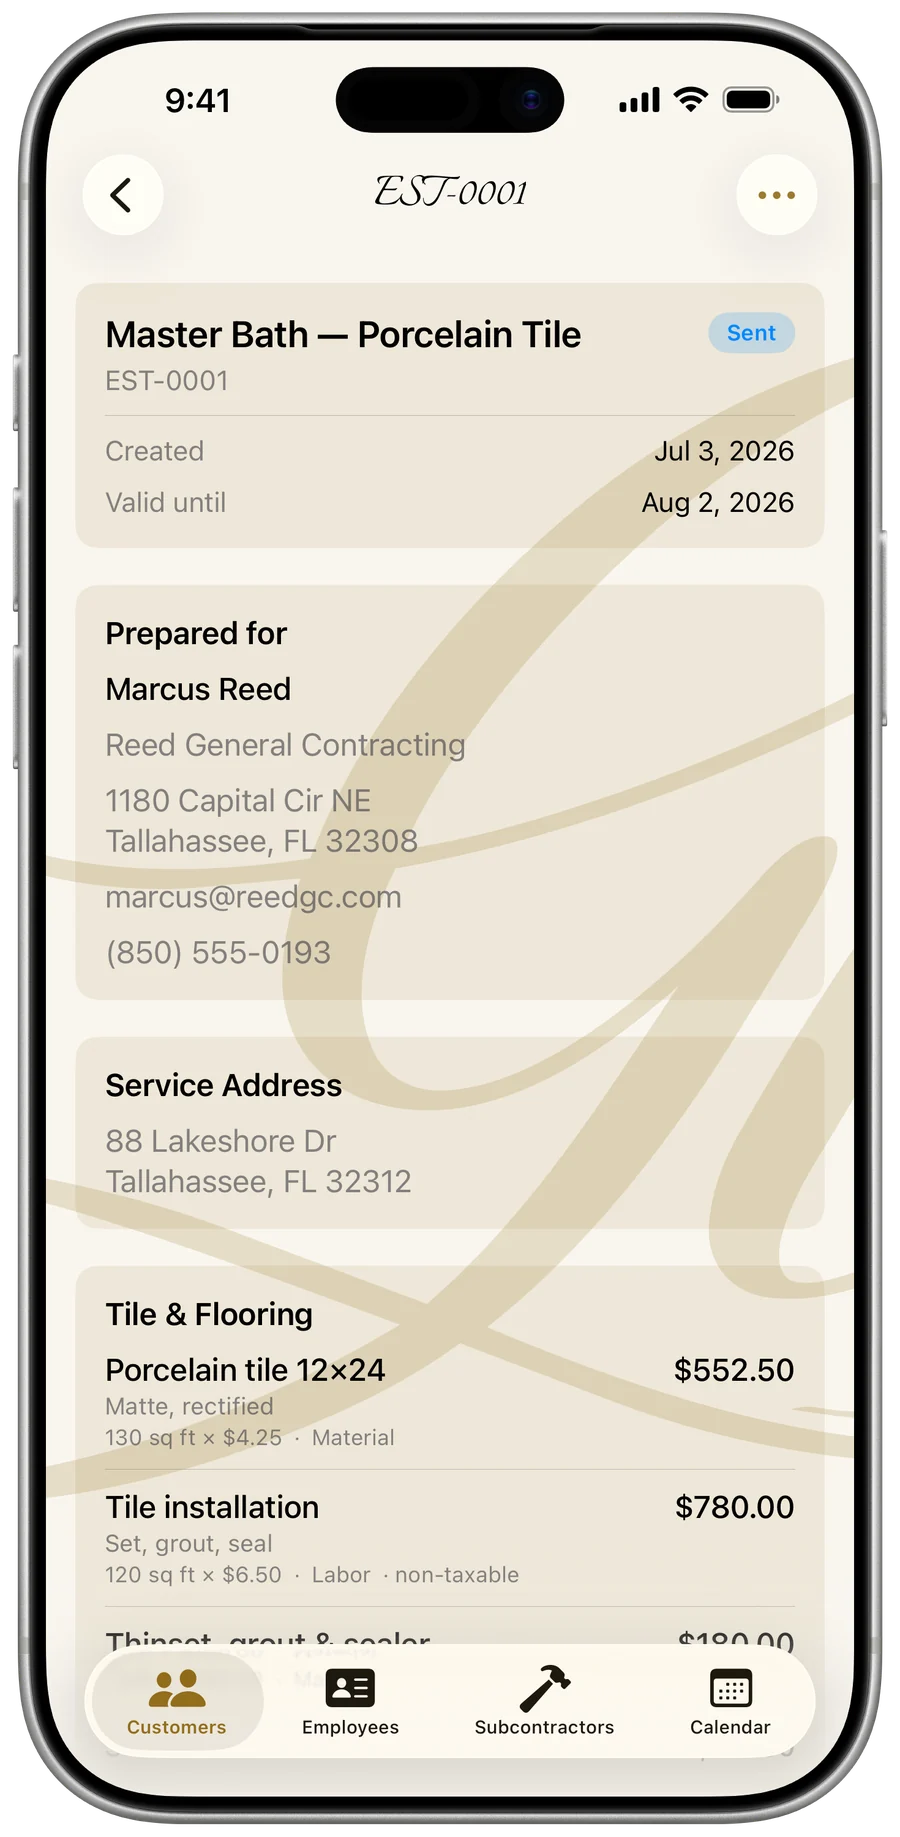
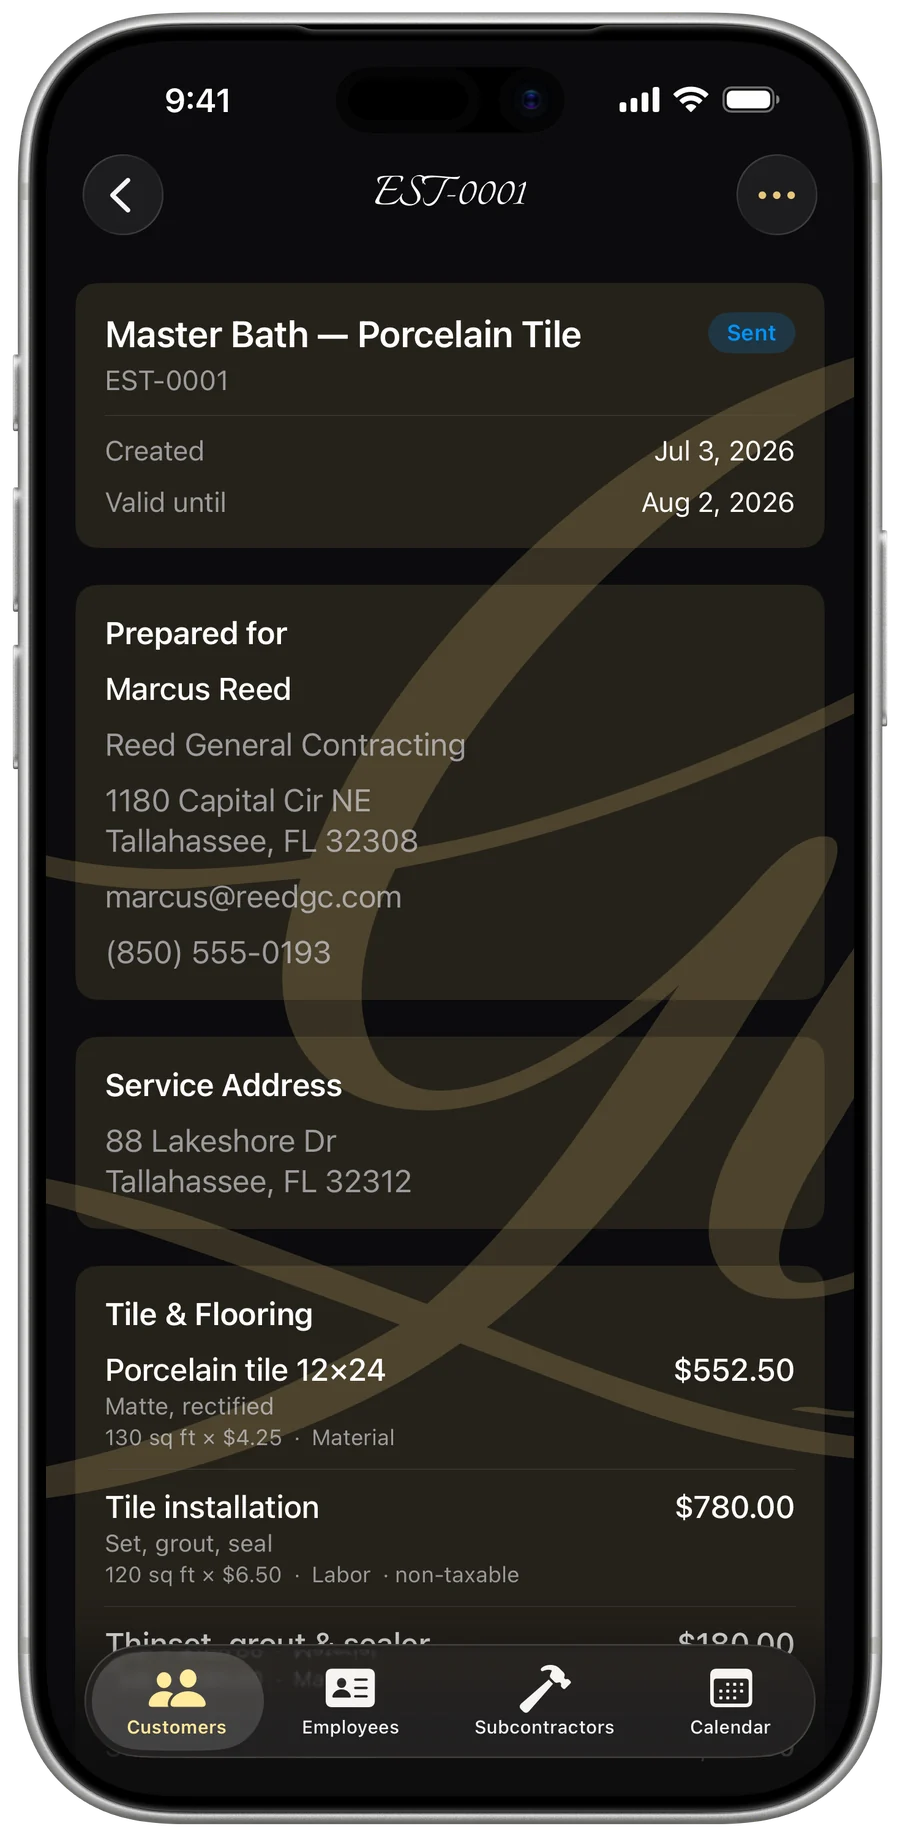
Start a new estimate
Every estimate belongs to a customer and is auto-numbered — EST-0001, EST-0002, and so on. The customer’s details are snapshotted onto the document, so the estimate stays accurate even if their contact info changes later.
- Open a customer and go to their Estimates list.
- Tap + (or the ••• menu → New Estimate).
- Give it a job title — that’s the only thing required to save.
- Tap Save in the top-right.
- Set the status: Draft, Sent, Accepted, or Declined.
- Pick a valid-until date — it defaults to 30 days out, and an Expired badge appears automatically once it passes (unless it’s already accepted or declined).
- Add a separate service / job-site address when the work isn’t at the billing address — type it in or use the built-in address search.
Free to start: up to 15 estimates on the free tier, unlimited with a subscription.
Organize the work into groups
Break a job into named groups — “Master Shower,” “Kitchen Backsplash” — each with its own note (handy for dimensions) and a running subtotal, so a big estimate stays easy to read.
- Type a group name — the app suggests names you’ve used before, ranked by how often you use them.
- Add a short note if you like (e.g. 5×3×8).
- Add your line items under the group.
- Tap Add group to start another area; remove a group anytime once you have more than one.
Price every line — labor and materials
Add itemized lines with quantity, unit, and price. Each line shows a live total, and the name field auto-completes from your own history, so repeat work is a couple of taps.
- Units: sq ft, ln ft, sq yd, hr, day, ea, item, labor, lump, or job.
- Mark each line Labor or Material — materials default to taxable, labor to non-taxable, and you can override either.
- Add a per-line discount (% or $) on top of any whole-estimate discount.
- Add an optional description line for the details that win trust.
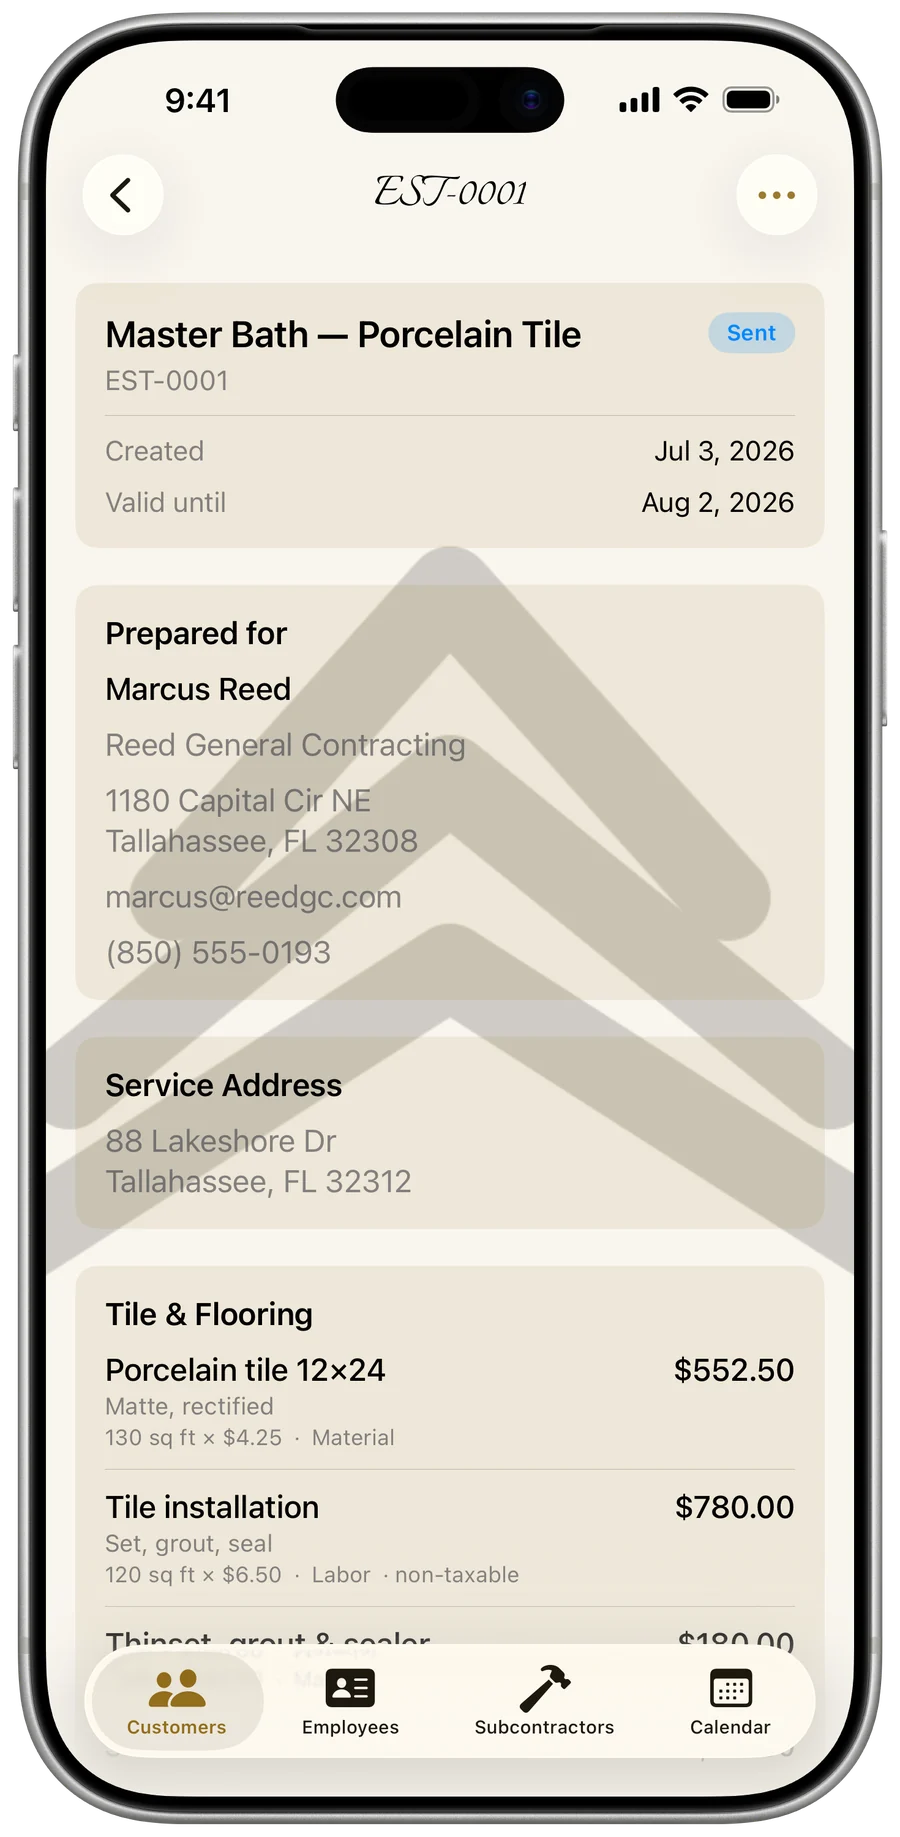
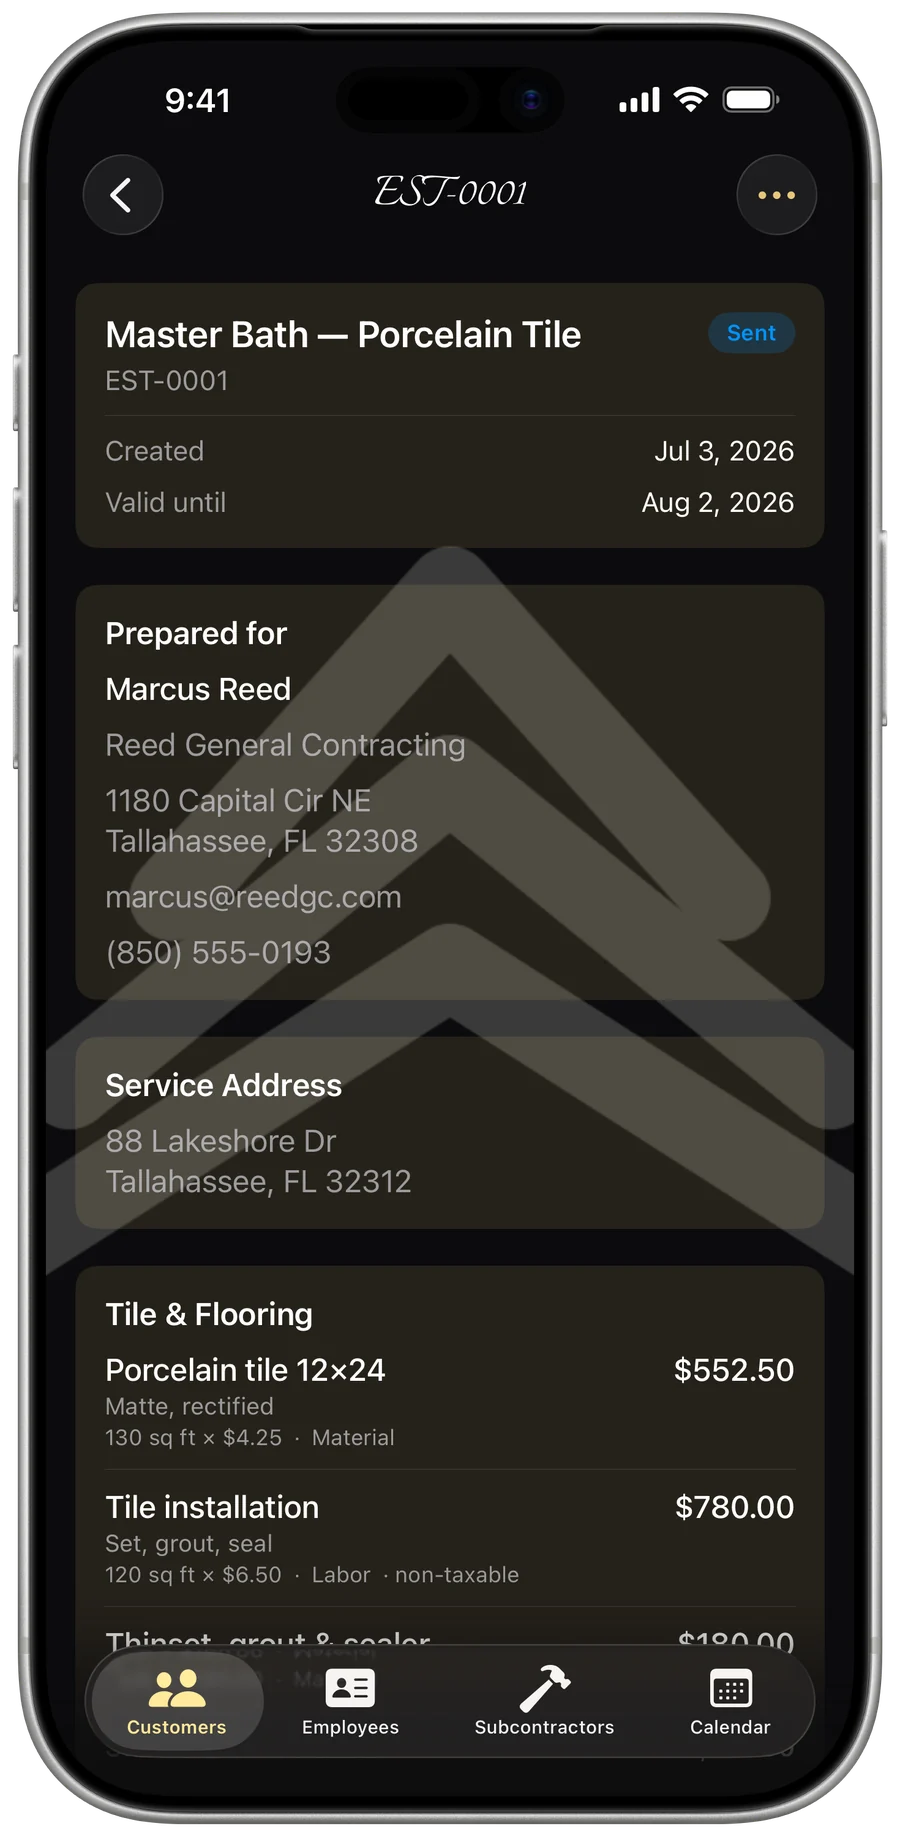
Tax, discounts, and a required deposit
Set a tax rate that applies only to the lines you marked taxable — and it’s reduced proportionally by any whole-estimate discount, which is more correct than apps that tax the full total. A live summary shows subtotal, discount, tax, total, and the required deposit as you work.
- Whole-estimate discount: none, a percentage, or a fixed amount.
- Required deposit: none, a percentage, or a fixed amount of the total.
- Add customer notes and your terms & conditions — both print on the PDF and stay hidden when empty.
Send it like you mean business
Preview the print-ready, US-Letter PDF — your logo, business name, license, and contact across the top — then send it however your customer prefers.
- Open the estimate and tap ••• → Preview to review the PDF.
- Email it — a branded message with the PDF attached, pre-addressed to the customer.
- Or Text it — a clean summary with your logo and the PDF attached.
- Or Share… to send it through any app via the system share sheet.
Your documents only ever carry your own uploaded logo — never a Gold Life mark. With no logo set, your business name stands in as the letterhead, so nothing ever goes out branded as someone else.
Turn an accepted estimate into money
When the customer says yes, you’re one tap from billing and booking the work.
- Tap ••• → Convert to Invoice — the customer, line items, tax, and totals carry straight into a new invoice.
- Mark it Accepted, then tap ••• → Schedule to put the job on your calendar.
- A double-bill guard warns you if this estimate was already turned into an invoice.
- A booking made from an estimate survives even if you later delete the estimate.
Find and manage every estimate
See one customer’s estimates inside their record, or every estimate across the business in Menu → Job Records → All Estimates. Each row shows the title, total, number, date, and status at a glance.
- Search by job title, number, customer, or status.
- Multi-select to delete several at once, or swipe a single row.
- Orphaned estimates (whose customer was deleted) are flagged so you can clean them up — they still count in your stats until you do.