
Make every document unmistakably yours
Drop in your logo — with a separate version tuned for dark mode — set your business name, license, contact, and address, write a warranty once, and sign with a hand-drawn signature that's Face ID protected. Then control exactly what customers see and how the whole app looks. Your documents only ever carry your own brand, never ours.
Upload your logo — light and dark
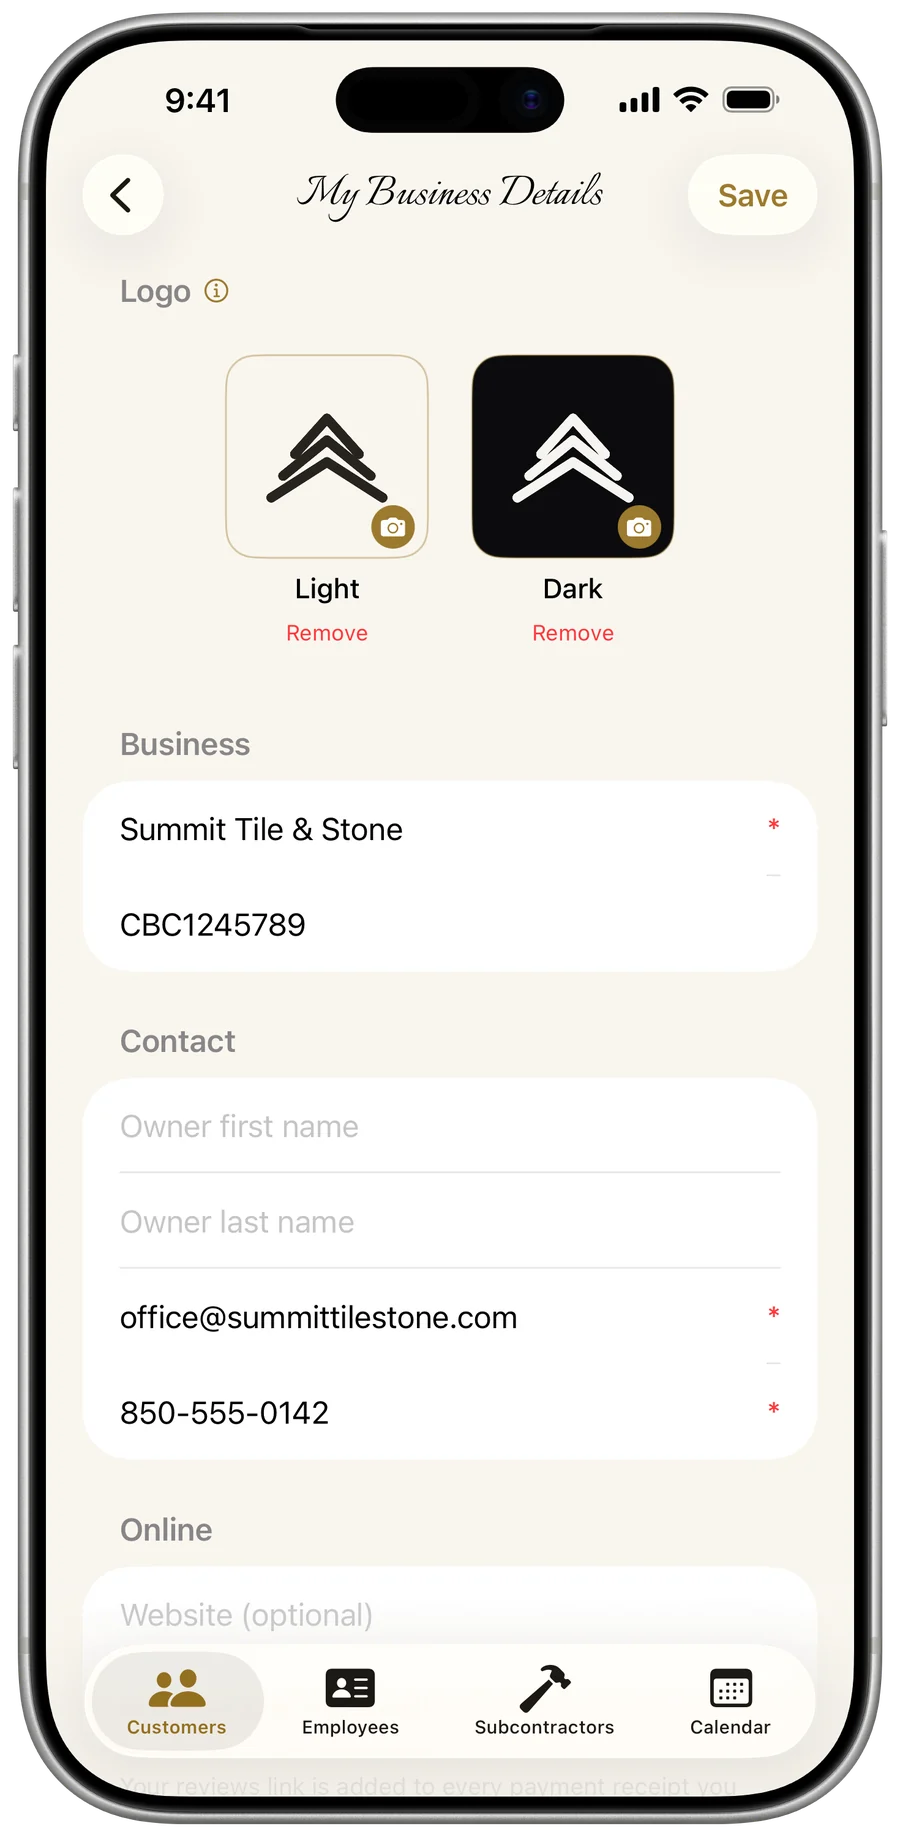
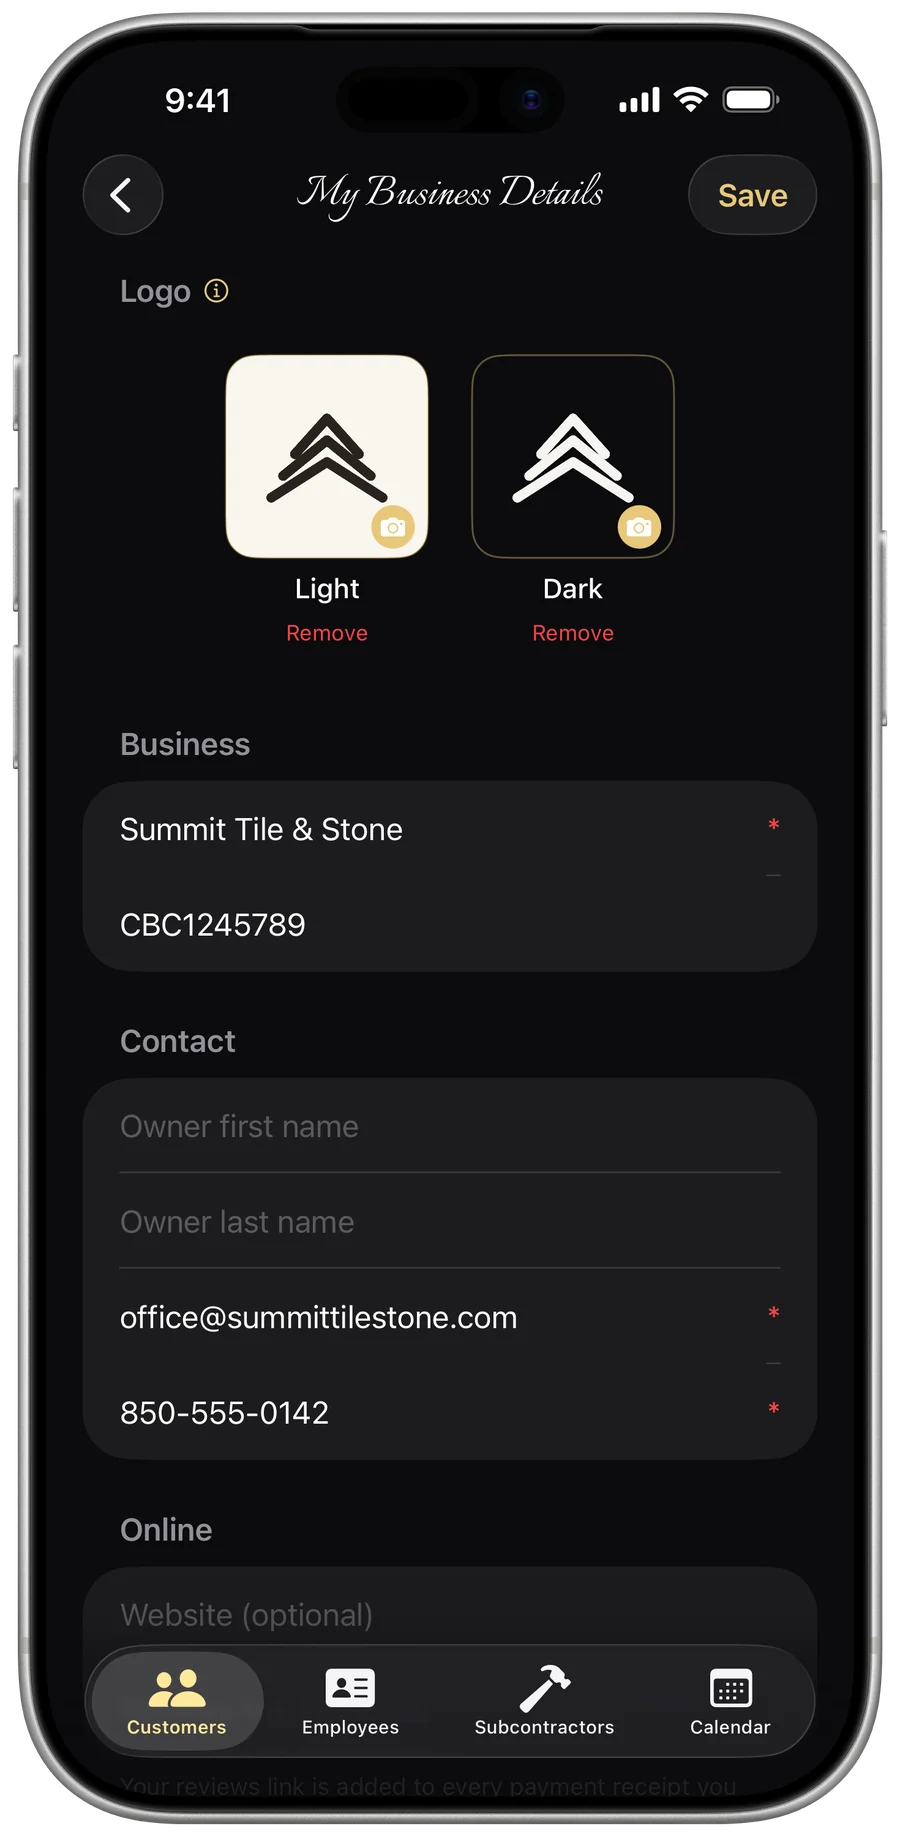
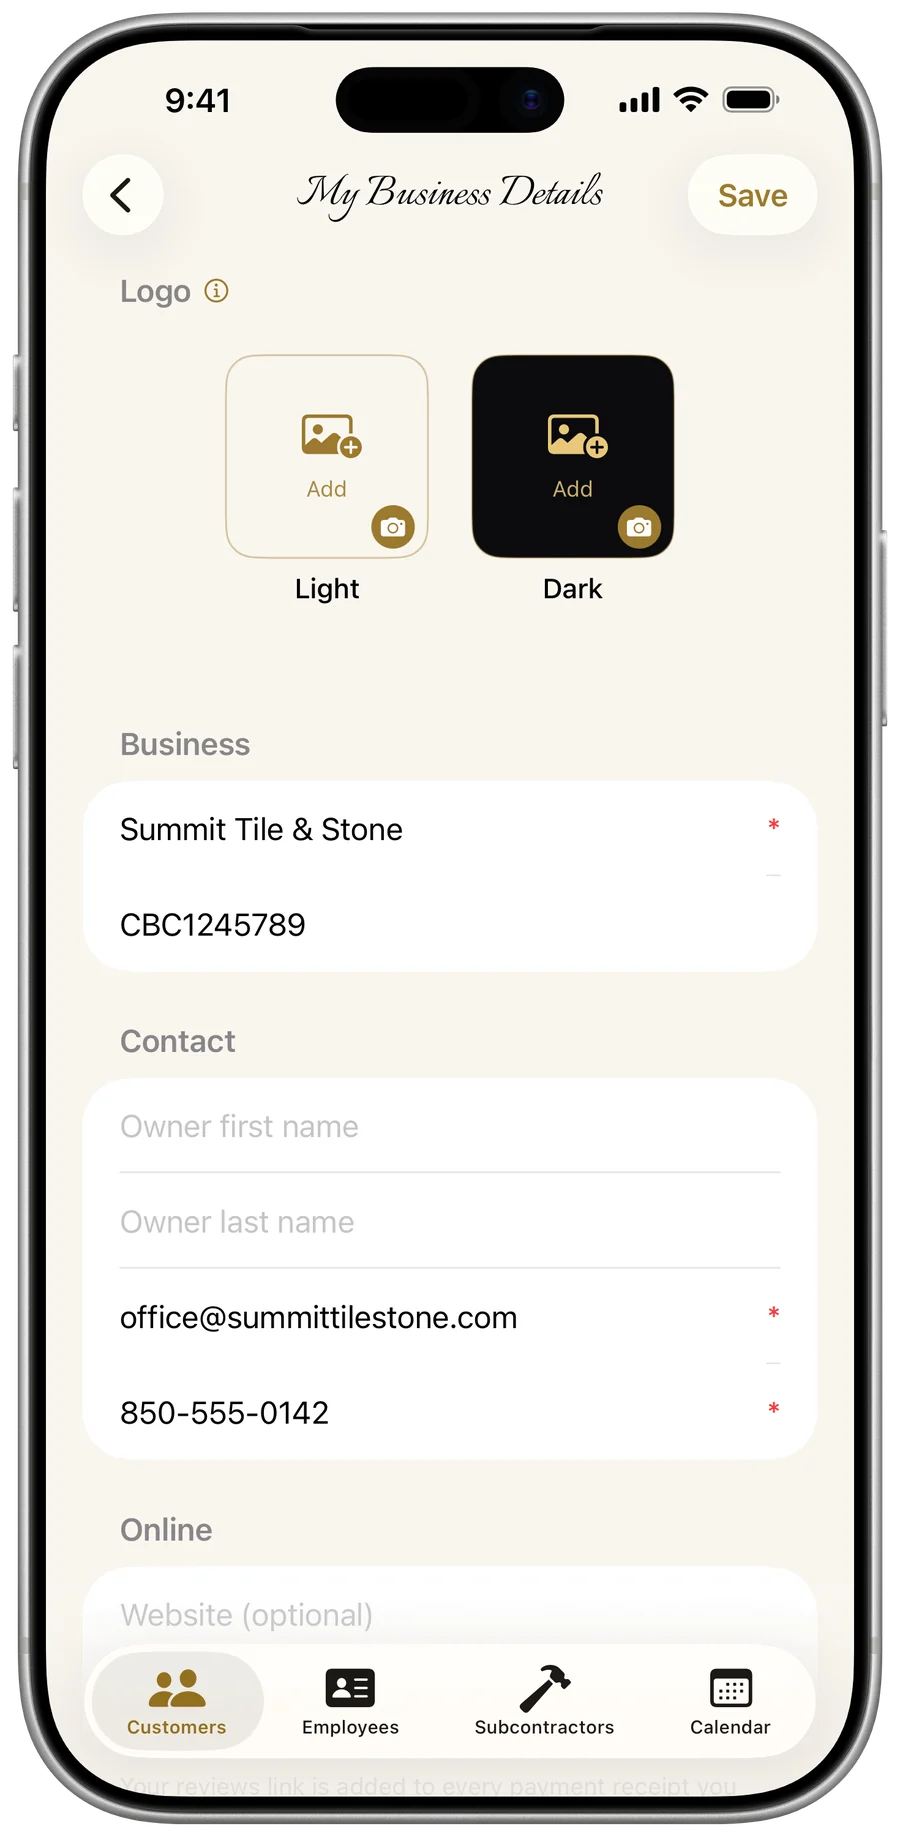
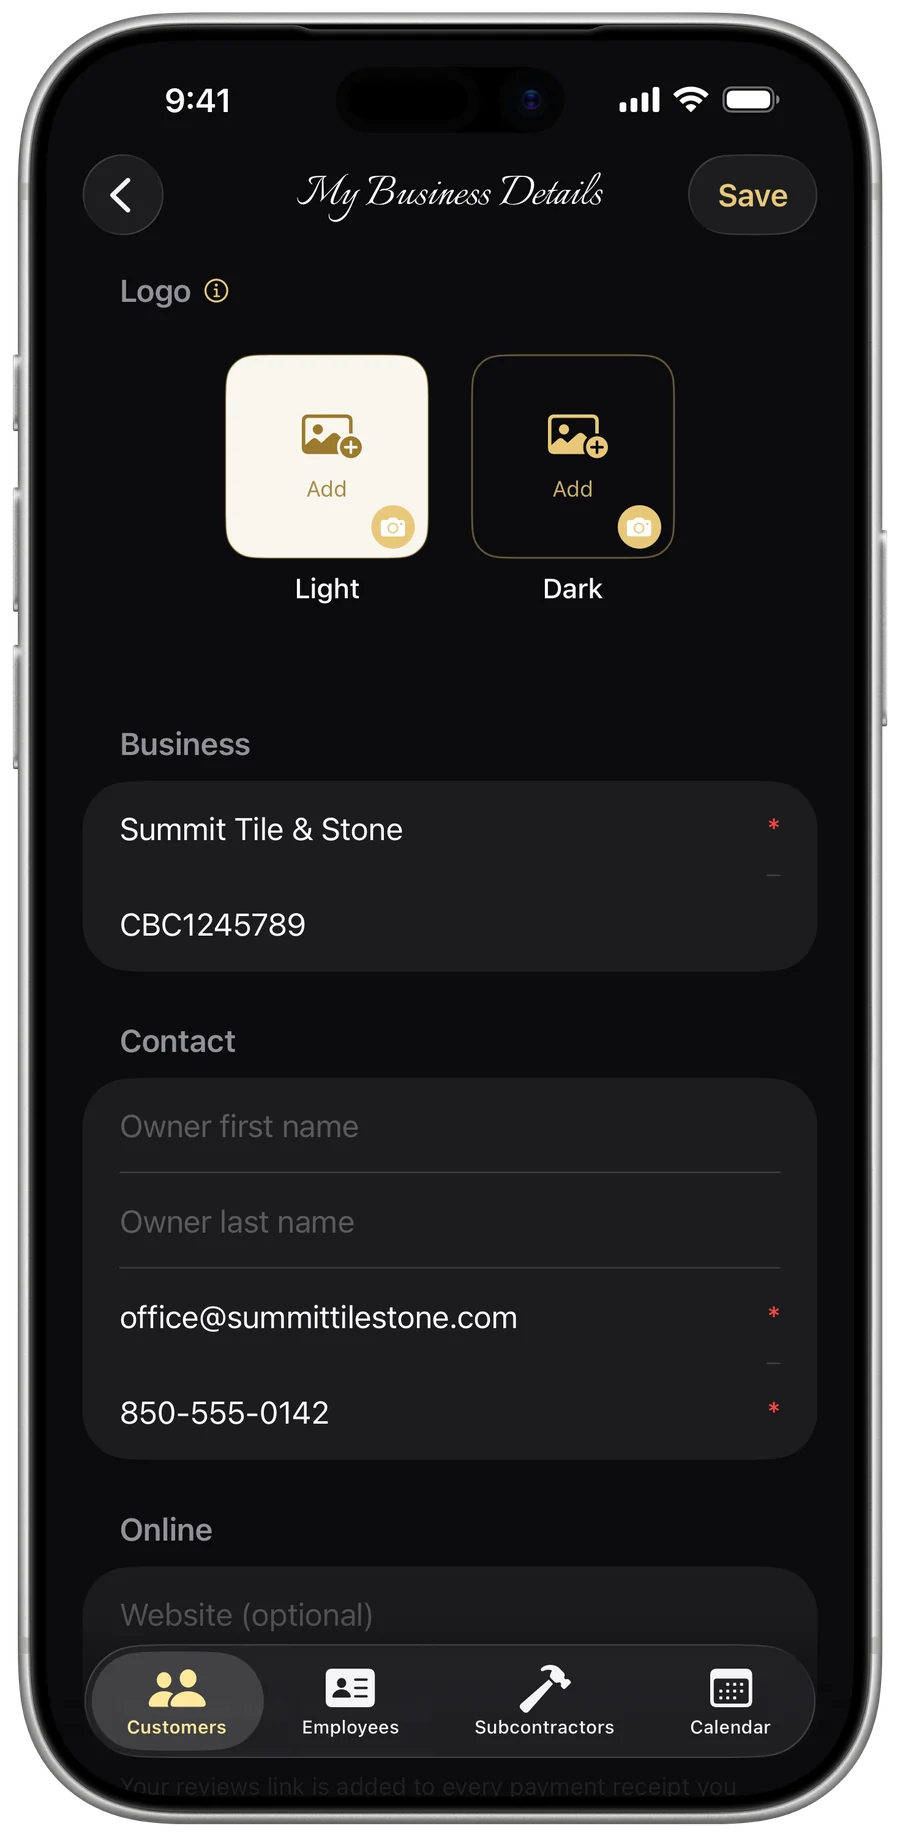
Add your company logo and it personalizes both your documents and the app itself. There are two separate wells — a Light version and a Dark version — each previewed on the actual brand background for that appearance, so your mark looks right whichever mode a customer is in. A real move-and-scale cropper means it sits perfectly, not stretched.
- Open the Menu (top-left of any tab), then My Info → Business.
- Tap the ••• menu (top-right) and choose Edit.
- In the Logo section, tap the Light well and pick an image — no photo-library permission prompt.
- In the Move & Scale cropper, pinch to zoom and drag to position the logo inside the rounded window, then tap Use.
- Optionally tap the Dark well and repeat to add a dark-mode version.
- Tap Save.
- Light well — used in light mode and as the default everywhere.
- Dark well — optional; it falls back to the light logo when unset, and vice versa.
- Move-and-scale crop: pinch to zoom up to 5×, drag to position, saved as a 600×600 transparent PNG.
- A Remove button under either well clears that logo.
- No logo? The app shows a built-in monogram in-app — and your business name stands in as the letterhead on documents.
Logo image data syncs across your devices via iCloud.
Decide exactly what customers see
Branding here is granular on purpose. Three independent toggles let you separate how the app looks for you from what actually prints on the documents you send — so you can dress up your own screen without touching a customer-facing PDF, or keep your address on tax forms while hiding it from invoices.
- Open the Menu, then tap the gear (Settings).
- In the Logo section, set Use logo in the app and Show logo on documents.
- In the Business address section, set Show address on documents.
- Use logo in the app — swaps the built-in monogram on the Menu button and the faint background watermark for your logo. On by default. Device-local.
- Show logo on documents — prints your logo on estimates, invoices, receipts, change orders, and completion packages. On by default. Synced.
- Show address on documents — prints your business address on estimates, invoices, and receipts. On by default. Synced.
- Turn the address off and it's hidden from customer documents but kept in your records and on tax forms like the W-9.
Use logo in the app is a per-device choice and isn't synced — appearance preferences stay local to each device. The two document toggles sync across all your devices.
Set your business identity
This is the company information that heads every document and feeds your tax forms — entered once, snapshotted everywhere. A built-in address lookup fills in the address fields in one tap, and URLs are made click-ready automatically.
- Open the Menu, then My Info → Business, then ••• → Edit.
- In Business, enter your Business name (required) and License number.
- In Contact, enter the owner's first and last name, plus email and phone.
- In Online, add your Website and a Reviews link.
- In Address, tap the address-search button to auto-fill, or type it manually, then tap Save.
- Business name is required; at least one contact method (email or phone) is needed to save — required fields carry a red asterisk.
- Owner first and last name are kept separate for flexible formatting; phone formats itself as you type.
- Reviews link — paste any review URL (Google, Yelp, etc.) and it's attached to every payment receipt so customers can rate you in one tap.
- Website and reviews URLs get https:// prepended automatically when no scheme is present.
- Address feeds the W-9 and the document header (subject to the show-address toggle).
Word your messages and your warranty
Every document you send by email or text already carries a prepared, brand-voice message. You can override any of it — six document types, each with its own subject, intro, and closing — and write your standard warranty terms once so they travel with every completion package.
- Open the Menu, then My Info → Business, then ••• → Edit.
- Scroll to the message sections and edit the Subject, intro, and closing for any document type.
- Leave any field blank to keep the suggested default wording.
- Scroll to the Warranty section and type your terms in the free-text field.
- Tap Save.
- Customizable messages for six documents: estimate, invoice, payment receipt, change order, contractor package, and completion package.
- Each blank field falls back to the prepared default — so future default improvements still reach you, and the read-only view labels uncustomized fields as “Default.”
- Warranty terms are free text (grows from 3 to 10 lines) and are snapshotted into every completion package, with coverage described as starting from each job's completion date.
There's no canned warranty default — warranty language is legally specific, so the field stays blank until you set it. Messages and warranty text sync across your devices.
Your signature — drawn, typed, or imported
Build a reusable signature three ways and it's stored privately, Face ID protected, and ready to stamp onto a W-9. Most apps make you sign on paper; this one keeps a clean, transparent signature on file.
- Open the Menu, then My Info → Personal, then tap Signature (opening an existing one requires Face ID).
- Pick a method: Draw, Type, or Import.
- Draw with a finger or Apple Pencil on the pad; Type to render your name in a script font; or Import a photo of your signature.
- Tap Save.
- Draw — a PencilKit canvas with a black pen, a guide line, and a Clear button.
- Type — your name rendered in Snell Roundhand script.
- Import — pick a photo and near-white pixels are knocked out automatically, so it sits cleanly on a line as a transparent PNG.
- Stored on your profile, synced privately via iCloud, and protected by Face ID.
- Reachable from Personal info and directly from the W-9 generator.
Tax details and your W-9
Store everything needed to generate a Form W-9 — legal name, federal tax classification, taxpayer ID, and any exemption codes — then produce, sign, and share the finished PDF. The sensitive part, your Tax ID, is held in the device Keychain, not the synced database.
- Open the Menu, then My Info → Business, then ••• → Edit.
- In Tax details (for W-9), enter your name as on the tax return and pick a tax classification.
- Choose a Taxpayer ID type (SSN or EIN) and enter the Tax ID; add exemption codes only if they apply.
- Tap Save.
- Back on the Business screen, under Compliance tap Generate a W-9 to review, optionally sign, and share the PDF.
- Tax classifications: Individual/Sole Proprietor, C Corporation, S Corporation, Partnership, Trust/Estate, LLC (with a C/S/P sub-letter), or Other.
- Switching ID type between SSN and EIN clears the previous number; the W-9 generator auto-fills your business name and address.
- Include signature and date is off by default — turning it on prompts Face ID, then stamps your saved signature dated today.
- Your Tax ID stays masked behind a Face ID lock in the form — tap it and authenticate to reveal or change it, and tapping Generate a W-9 prompts Face ID too, since the finished form shows your full SSN or EIN.
- The read-only More Info screen masks the Tax ID to its last four digits.
Your Tax ID lives in the Keychain rather than the synced database, and legacy plaintext IDs migrate there on the next save. A W-9 isn't considered complete until you've entered a full 9-digit SSN or EIN. If a secure Tax ID write ever fails, the form stays open with a clear alert while the rest of your details still save.
App appearance, schedule, and security
Tune how the app looks and works for you, set the workdays that drive your next-available date, and optionally lock the whole app behind Face ID.
- Open the Menu, then tap the gear (Settings).
- In Appearance, pick Light, Dark, or Auto.
- In Workdays, tap Work schedule to set your days, hours, holidays, and time off.
- In Security, turn on “Require Face ID to open” if you want an app-entry lock.
- Appearance: Light, Dark, or Auto (follows the device) — applied app-wide.
- Work schedule: per-weekday workdays and hours, holidays, and vacation / date overrides; defaults to Mon–Fri 8–5 with common holidays until edited.
- Scheduling: an optional Book one job at a time warning before you double-book a day.
- Security: “Require Face ID to open” locks My Business behind Face ID (or your device passcode) at launch and re-locks when you leave the app — optional and off by default; your data stays encrypted on-device either way.
Appearance and the app-entry lock are device-local — each device keeps its own look and its own lock setting. Your work schedule syncs across devices.
Your subscription and legal pages
Handle the app's subscription right from Settings, and reach the live legal pages without leaving the app.
- Open the Menu, then tap the gear (Settings).
- In Subscription, tap Upgrade to Unlimited, Manage Subscription, Restore Purchases, or Redeem Code.
- In Legal, tap Terms of Use or Privacy Policy to open the live web page.
- Upgrade to Unlimited opens the paywall — hidden once you're an active subscriber.
- Manage Subscription, Restore Purchases, and Redeem Code use the standard App Store sheets.
- Terms of Use and Privacy Policy open the live pages at softwarebygl.com.